
 IMG 5535
 IMG 5534
 IMG 5533
 IMG 5532
 IMG 5531
 IMG 5530
 IMG 5259
 IMG 5258
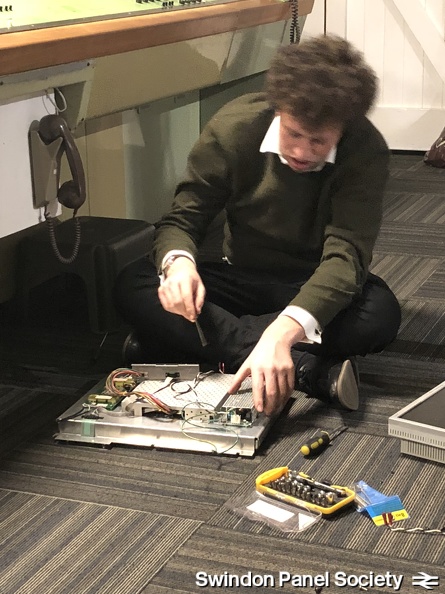 IMG 5257
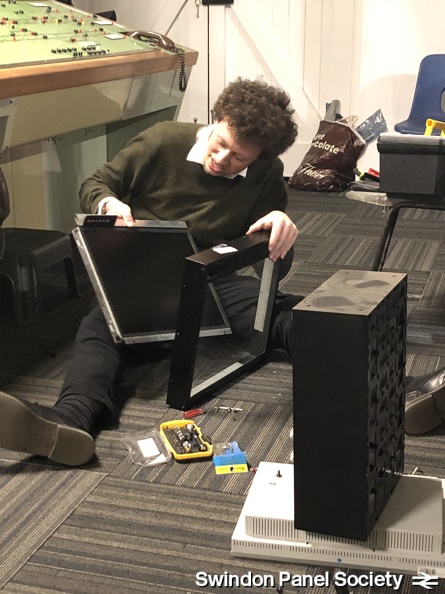 IMG 5256
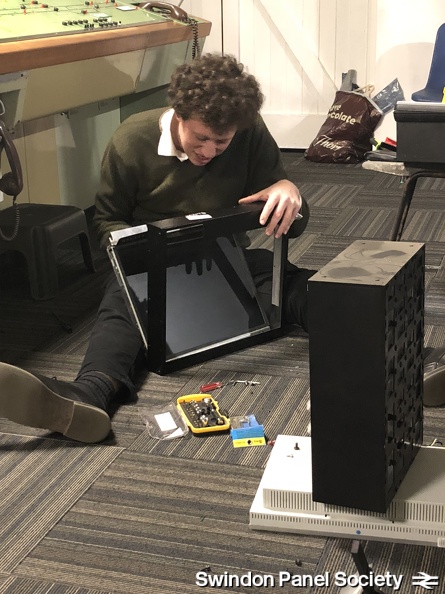 IMG 5255
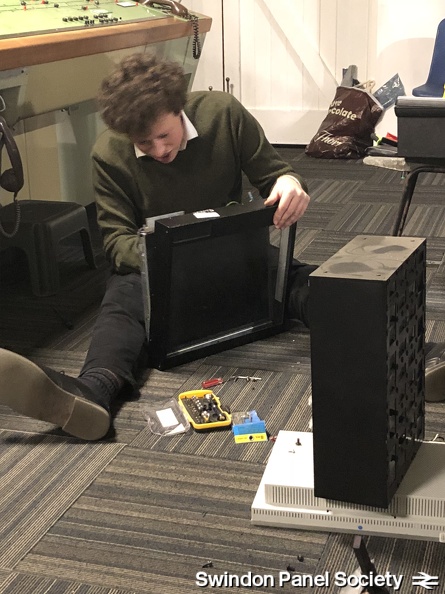 IMG 5254
 IMG 5253
 IMG 5251
 IMG 5250
 IMG 5249
 IMG 5248
 IMG 5247
 IMG 5246
 IMG 5245
 IMG 5243
 IMG 5242
 IMG 5241
 IMG 5240
 IMG 5239
 IMG 5238
 IMG 5237
 IMG 5236
 IMG 5235
 IMG 5234
 IMG 5233
 IMG 5232
 IMG 5231
 IMG 5230
 IMG 5229
 IMG 5226
 IMG 5225
 IMG 5062
 IMG 5058
 IMG 5057
 IMG 5053
 IMG 5052
 IMG 5051
 IMG 4913
 IMG 4912
 IMG 4909
 IMG 4908
 IMG 3588
 IMG 3587
 IMG 3586
 IMG 3585
 IMG 3473
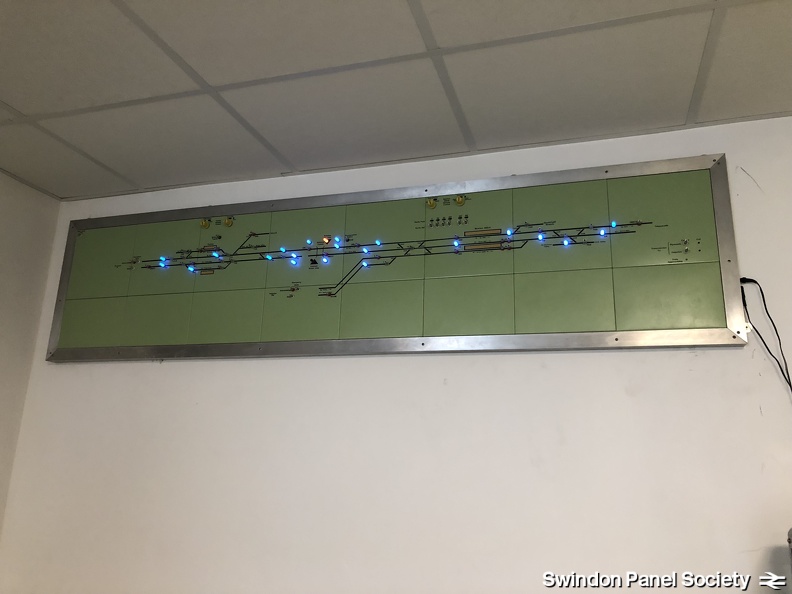 IMG 3472
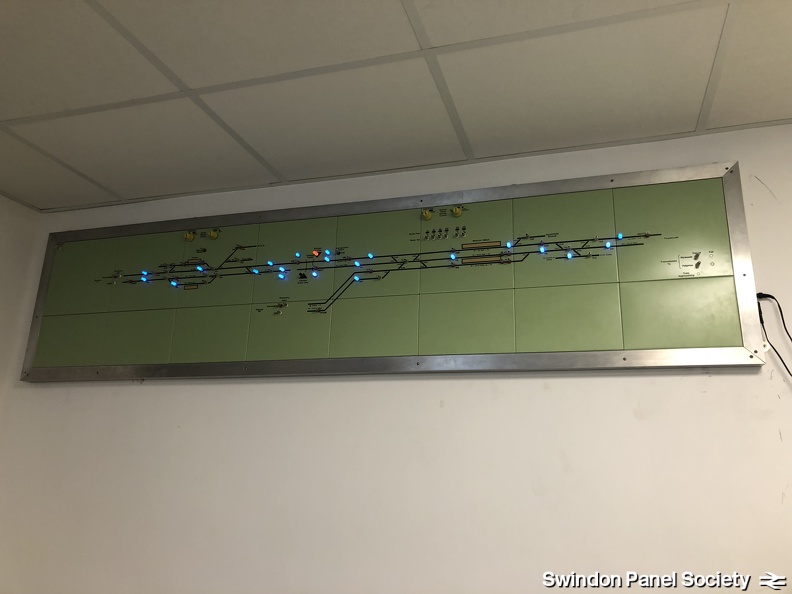 IMG 3471
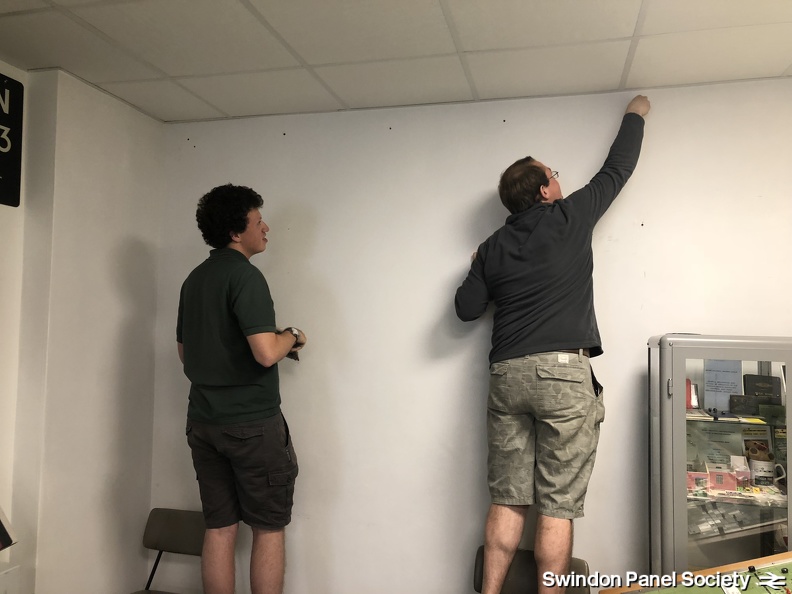 IMG 3470
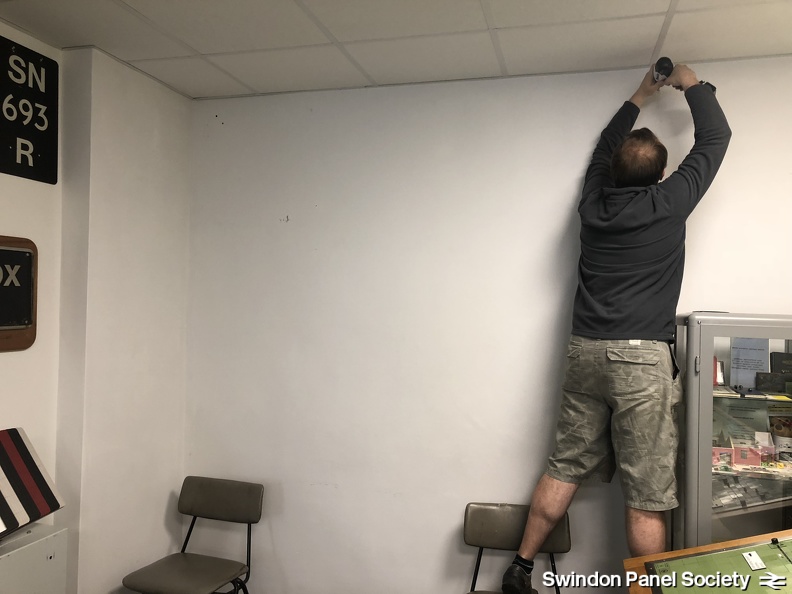 IMG 3469
 IMG 3466
 IMG 3464
 IMG 3463
 IMG 2898
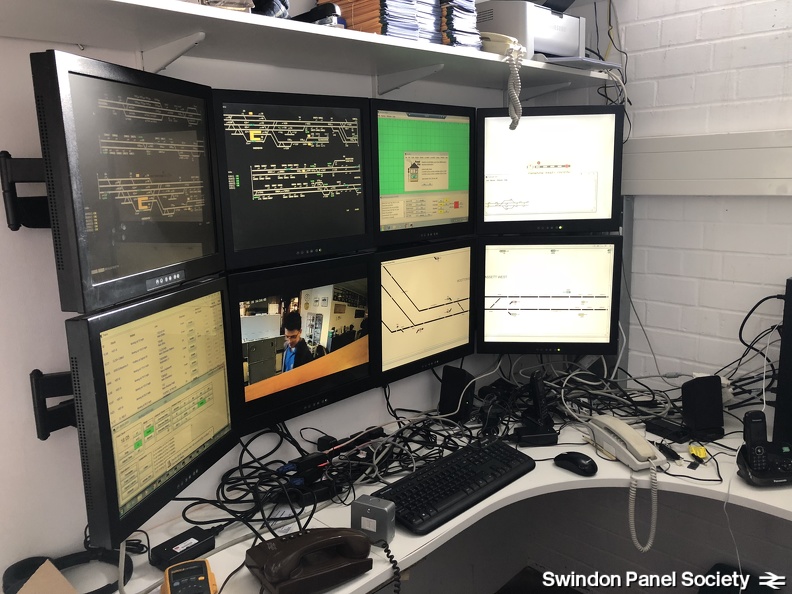 IMG 2893
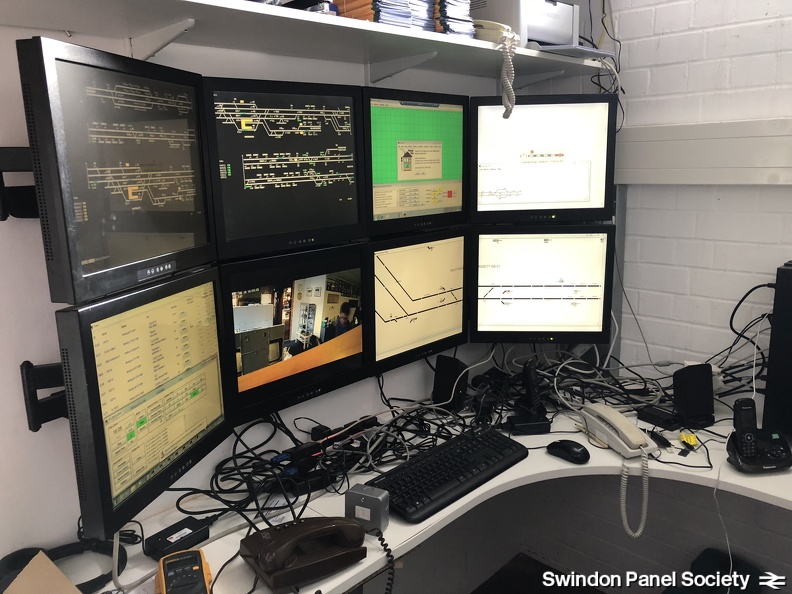 IMG 2892
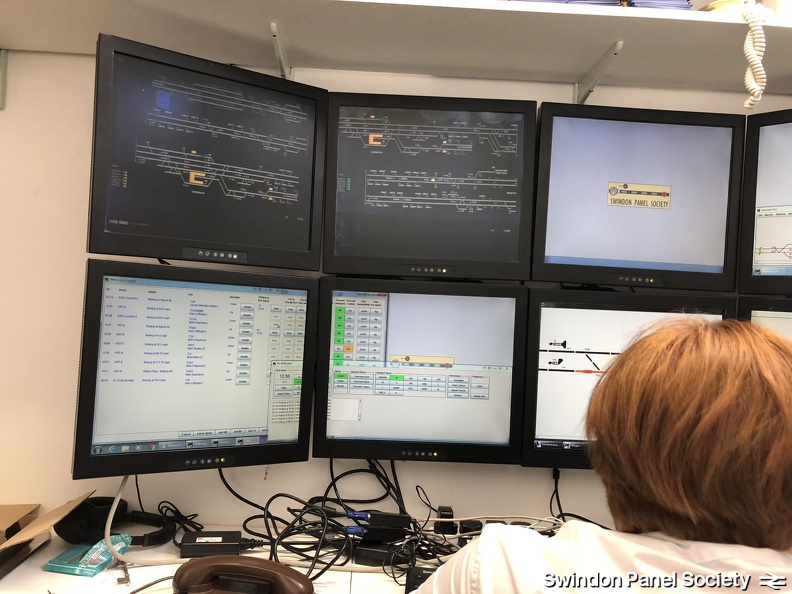 IMG 2891
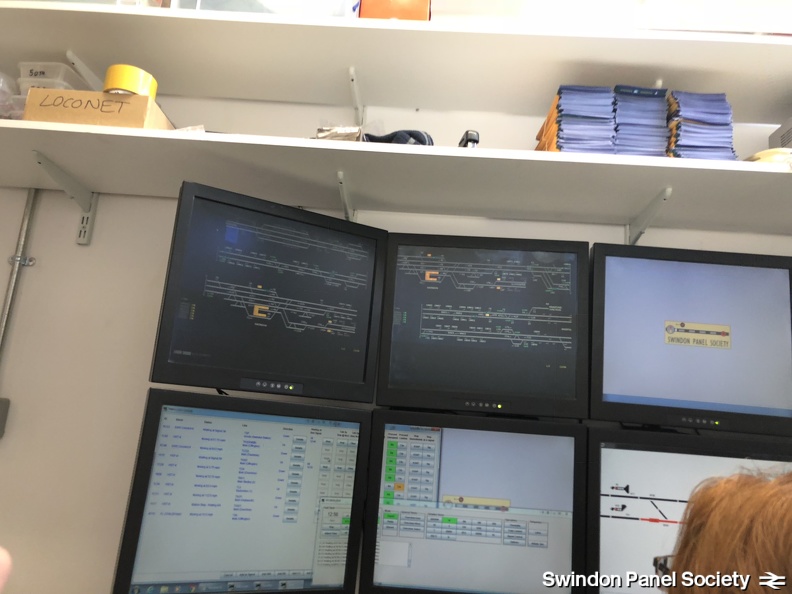 IMG 2890
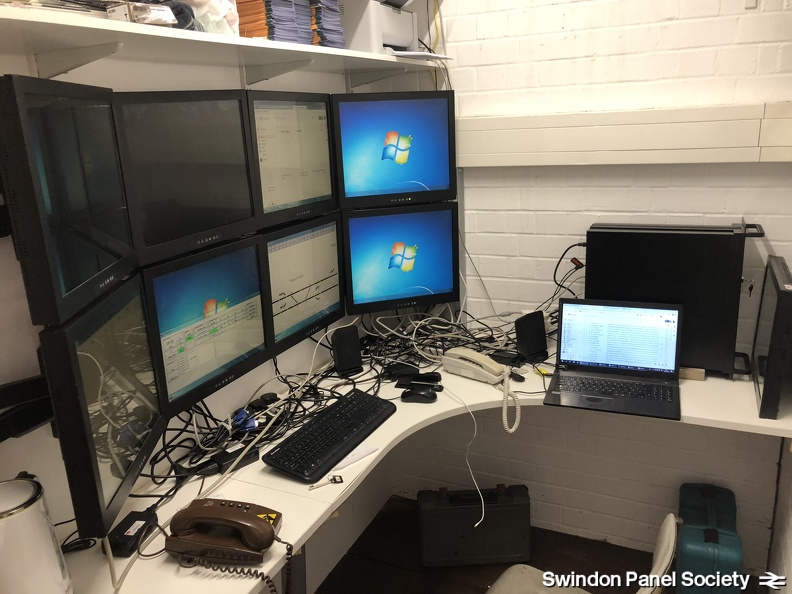 IMG 2887
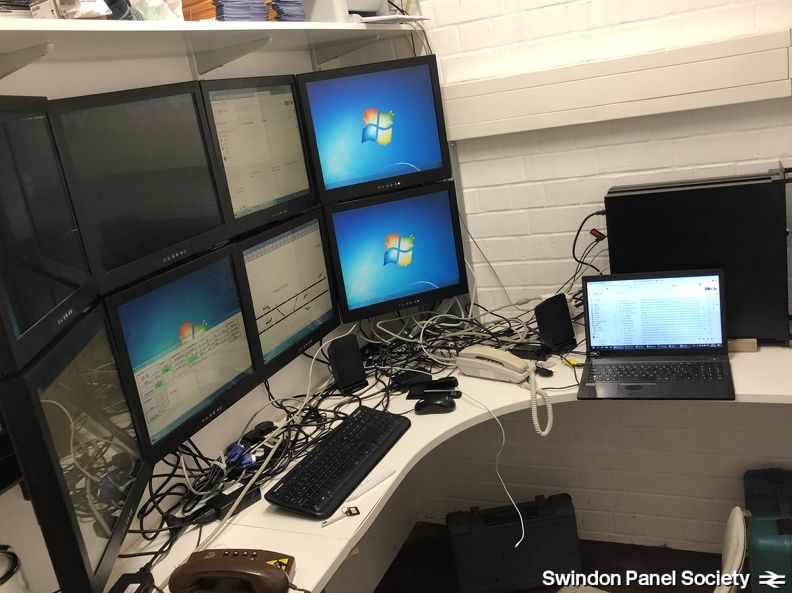 IMG E2887
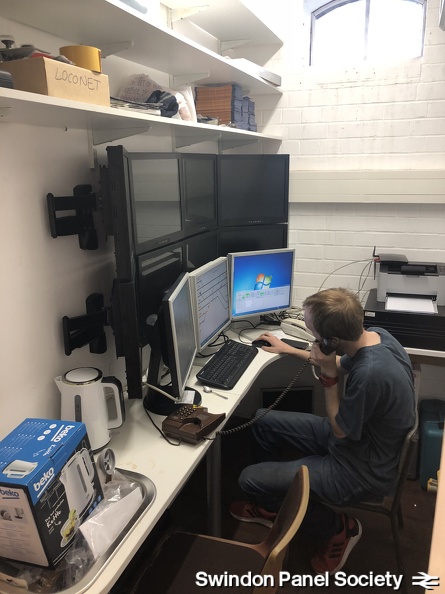 IMG 2884
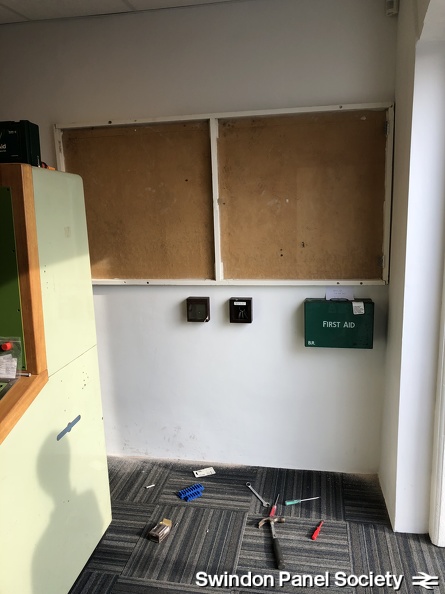 IMG 2811
 IMG 2809
 59833634 1065210300341378 947212959338201088 n
 60349796 1069984559863952 5039188603301789696 n
 60470840 1069984533197288 1012354281640034304 n
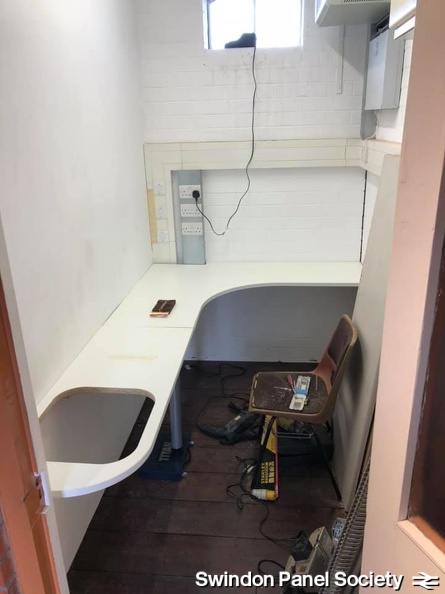 59895316 1065210293674712 8442420877907197952 n
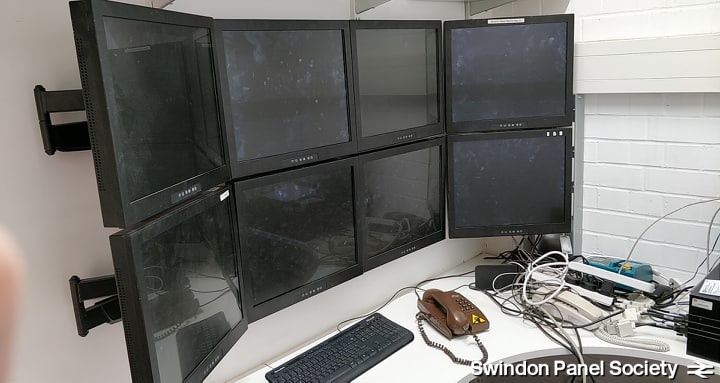 60612257 2060783390892006 6579538792485486592 n
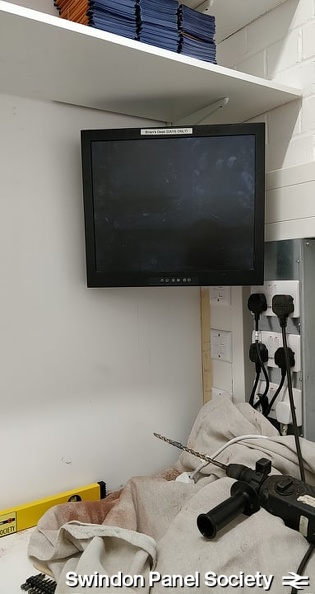 60616562 288679945375778 1028734067136266240 n
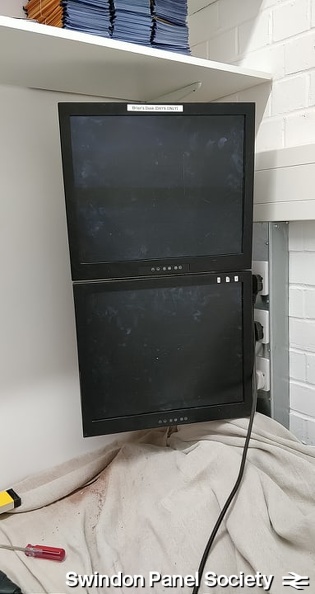 60424731 395250874511826 3772341845628026880 n
 60499281 338386070211991 1748243786179280896 n
 60344964 442755329825891 7989441217047822336 n
 IMG 2668
 IMG 2661
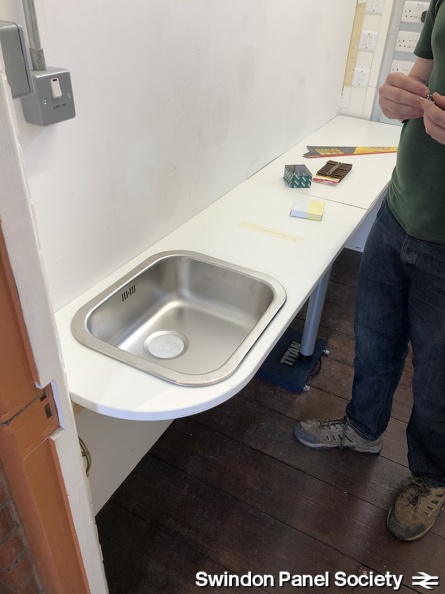 IMG 2660
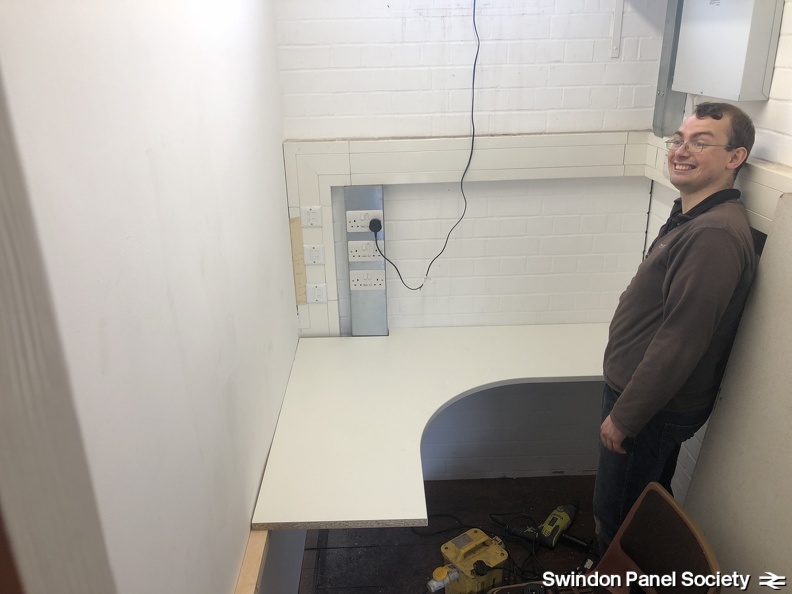 IMG 2656
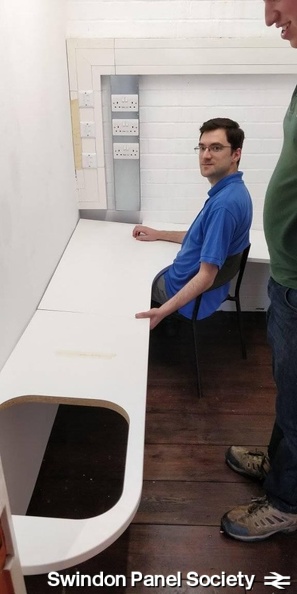 59953577 10157029730442660 1952067016898641920 n
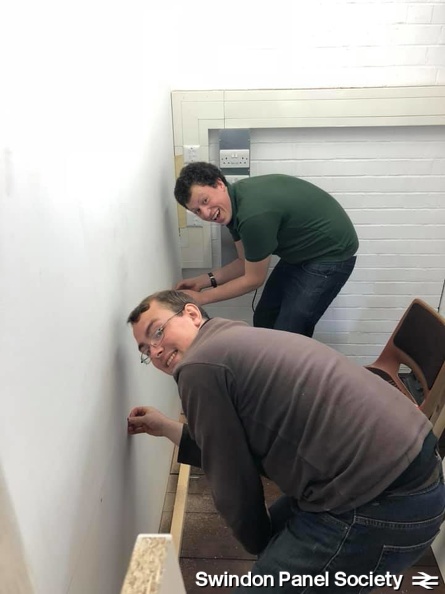 59951890 1065155717013503 3400720599205543936 n
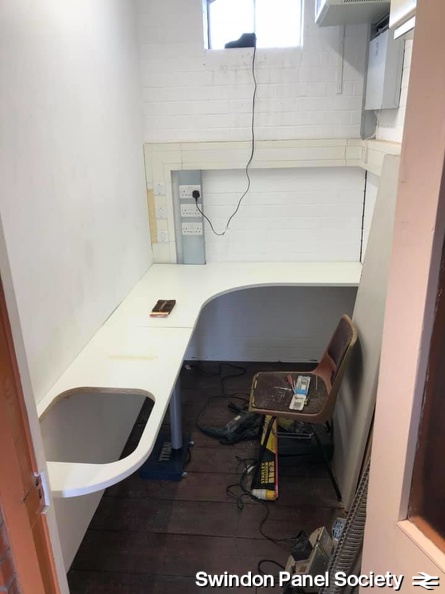 59895316 1065210293674712 8442420877907197952 n
 59912406 1065352303660511 2048952914931613696 n
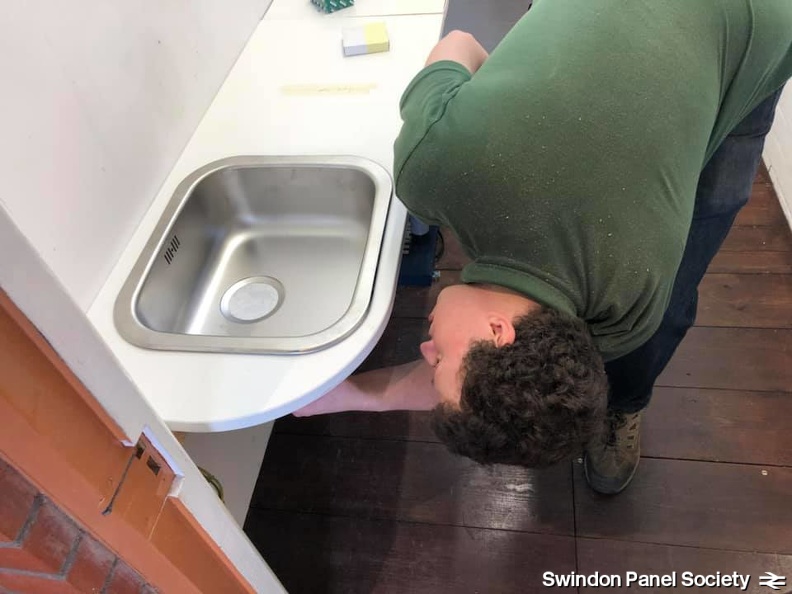 59870517 1065216000340808 209377001390211072 n
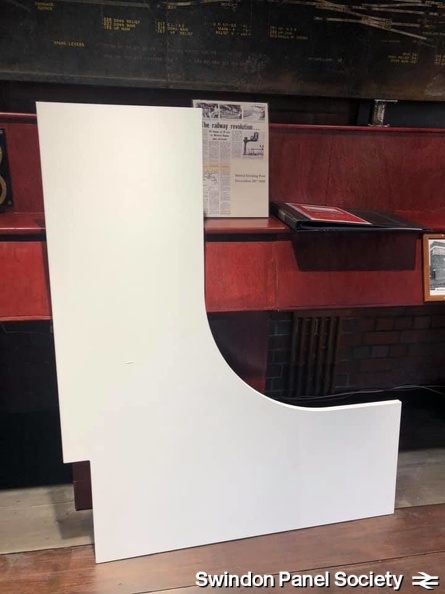 59877388 1065134573682284 1482268375777280000 n
 59837756 1065352306993844 338142530400944128 n
 59833634 1065210300341378 947212959338201088 n
 59791356 1065134613682280 2880810092150652928 n
 59778428 1065155740346834 6228325834789224448 n
 59791185 1065364333659308 2303772474199769088 n
 59738833 1065273873668354 5322833315886006272 n
 59706743 10157029730482660 1662032307806011392 n
 59697698 1065352373660504 4824394303826558976 n
 59680211 1065134550348953 9053291267508666368 n
 60150300 1065352353660506 268886015249219584 n
 60120315 1065352396993835 1243895410221645824 n
 59990856 1065134597015615 4817039597533921280 n
 59989406 1065215993674142 8873456047612755968 n
 Swindon panel 3 small
 Swindon panel 2 perspective corrected small
 Swindon panel 2 crop small
 Swindon panel 1 small
 IMG 5203
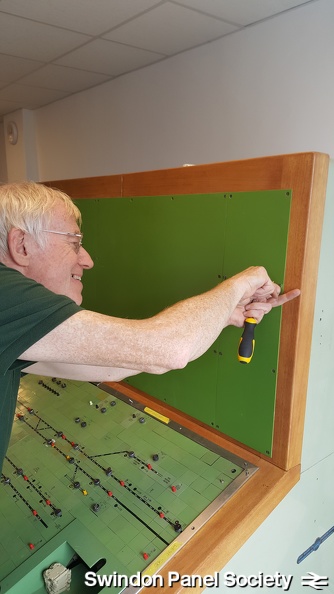 With Jamie's completed sanding and re-varnishing (needing several coats, of course!), Steve Gwinnett re-attaches the train describer plates to the front of the panel.
 35521558 882444965298287 3769262139328430080 n
 35519850 882445065298277 7437342769082793984 n
 35486501 882445058631611 3442155999840960512 n
 35758806 882444961964954 8319846737527177216 n
 35659866 882444948631622 5680603769520259072 n
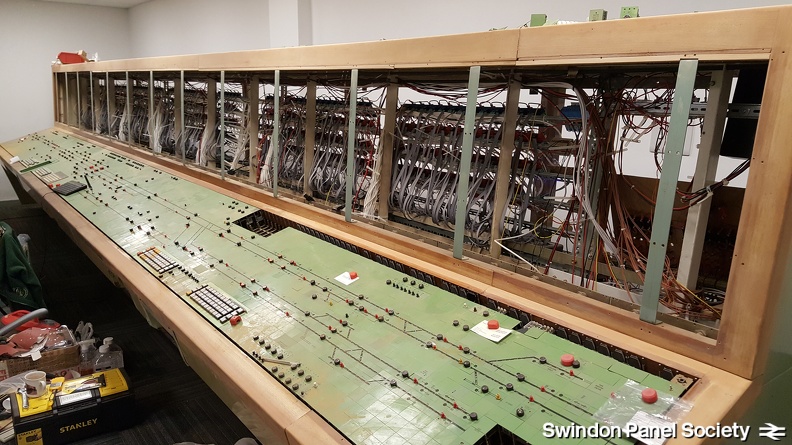 The end result - wonderfully clean and tidy framework, ready for re-varnishing.
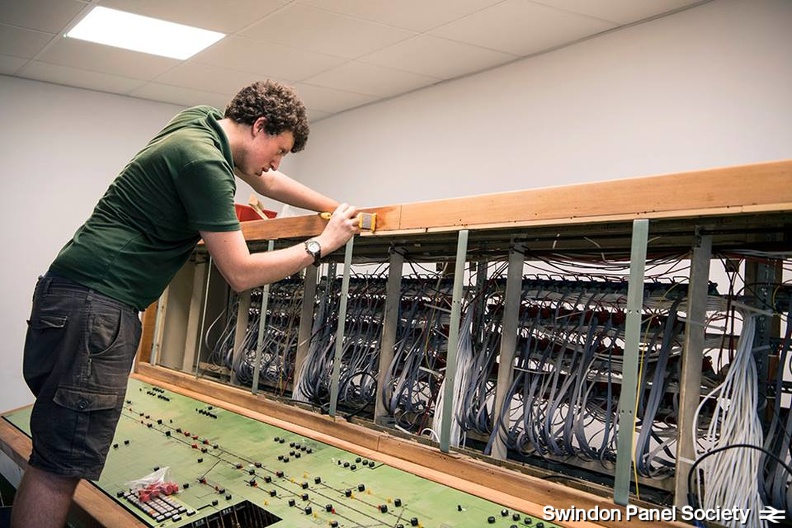
 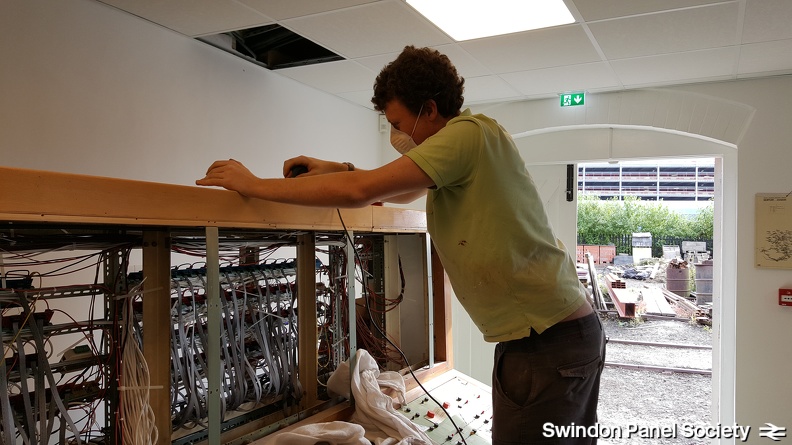 Jamie Brooker removes the vertical train describer plates and edging from the panel frontage, and begins the task of carefully sanding the timber framework.
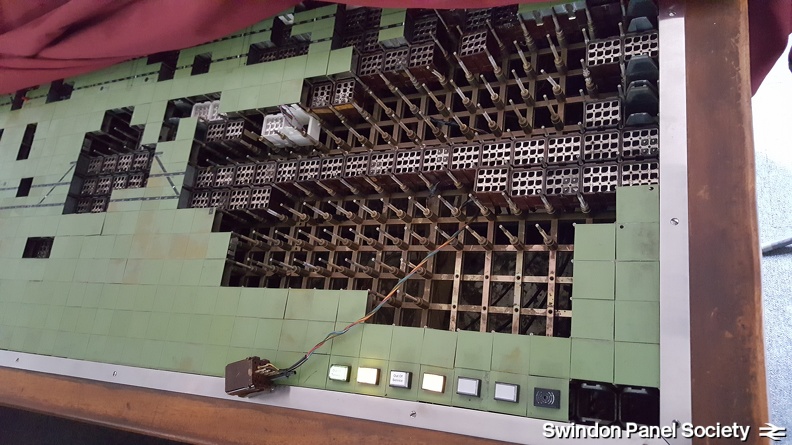 With kind permission from Network Rail, 50 base units and associated fitments are recovered from the old Stoke Gifford panel at Bristol PSB by Tom Yardley; note the 'Out Of Use' lights illuminated.
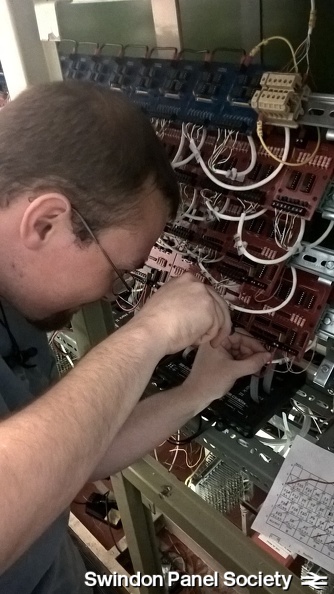 Another key moment, as Laurence Stant completes the wiring-in of the final Printed Circuit Board (PCB) - a lasting testament to all those SPS members who gave up their time to solder all 350 of them!
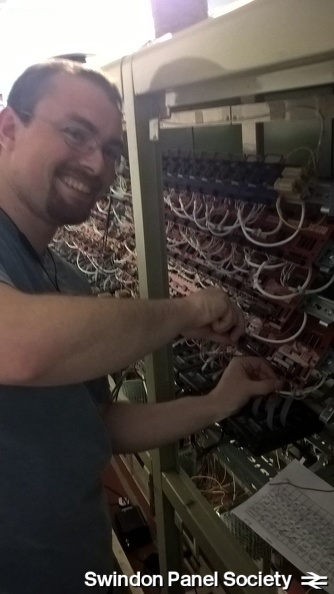 Another key moment, as Laurence Stant completes the wiring-in of the final Printed Circuit Board (PCB) - a lasting testament to all those SPS members who gave up their time to solder all 350 of them!
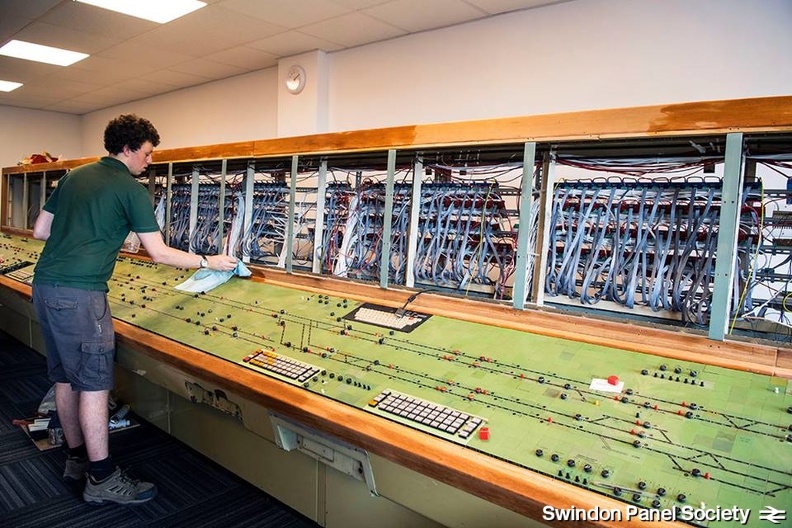
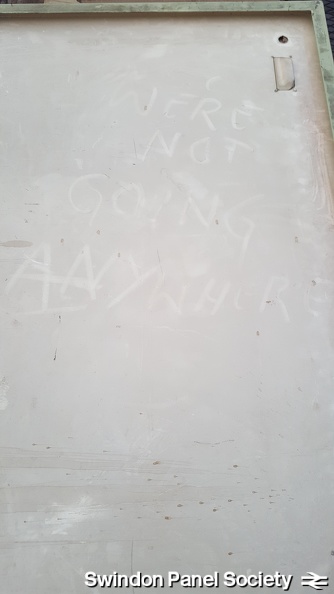 The odd surprise while cleaning: behind one of the rear covers, just discernible in the dust, is the downbeat message 'We're not going anywhere'; the same certainly can't be said of SPS!
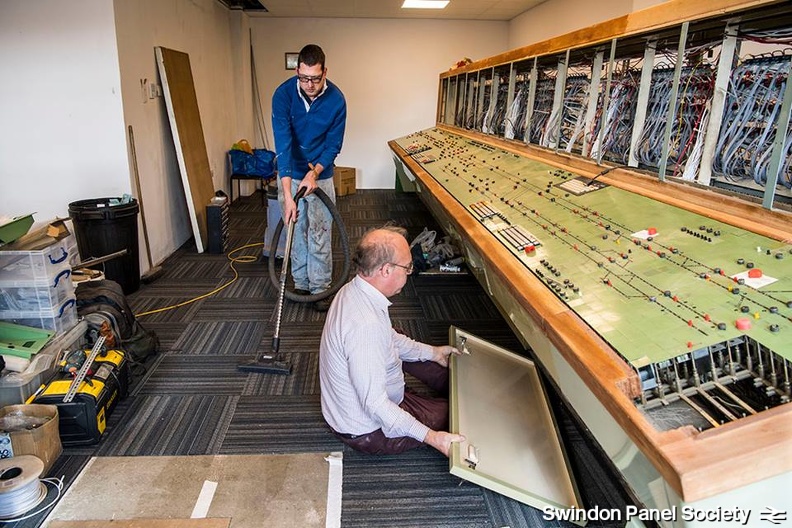
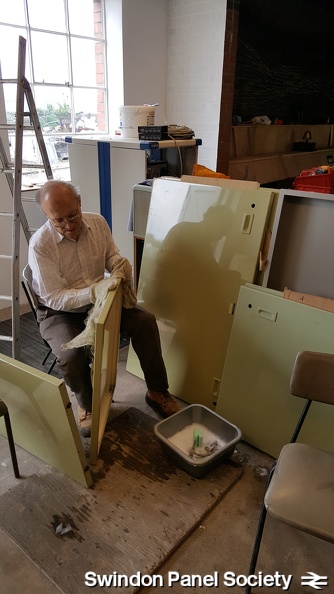 As more space becomes available at the front of the panel, Peter Woodbridge continues with the unenviable task of cleaning the panel's front and rear metal covers.
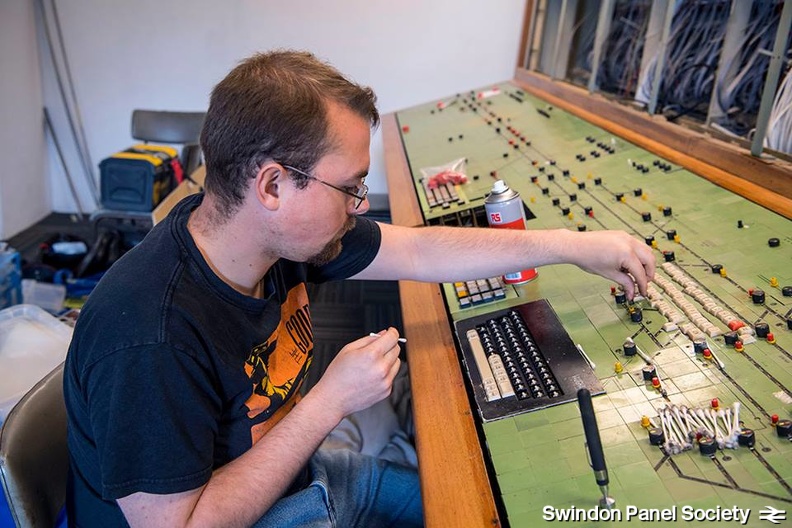
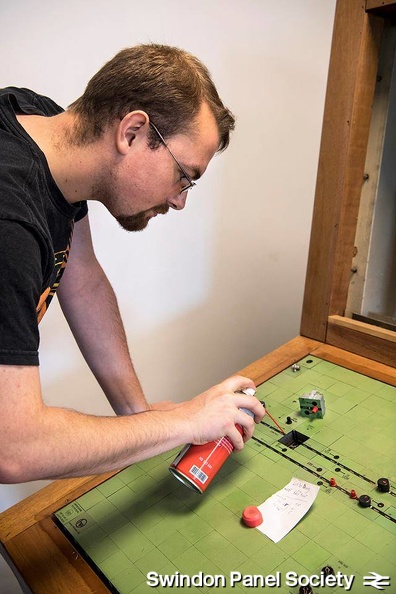
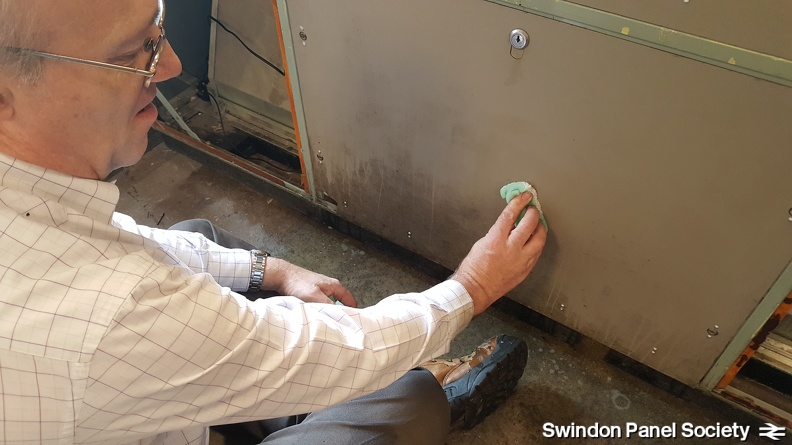 Not content with the panel covers, Peter starts cleaning away the years of dirt from the back desk, a longer-term restoration project.
 20180509 160041
 IMG 4775
 IMG 4774
 IMG 4773
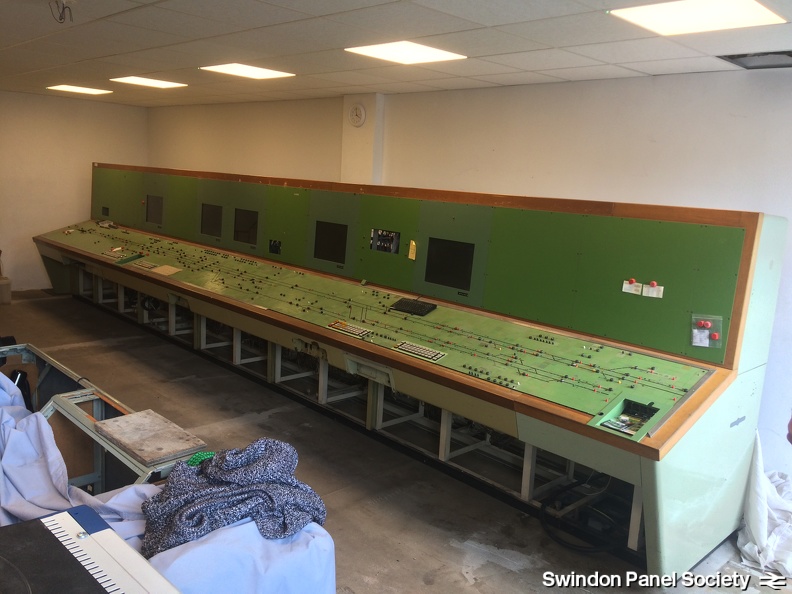 IMG 4772
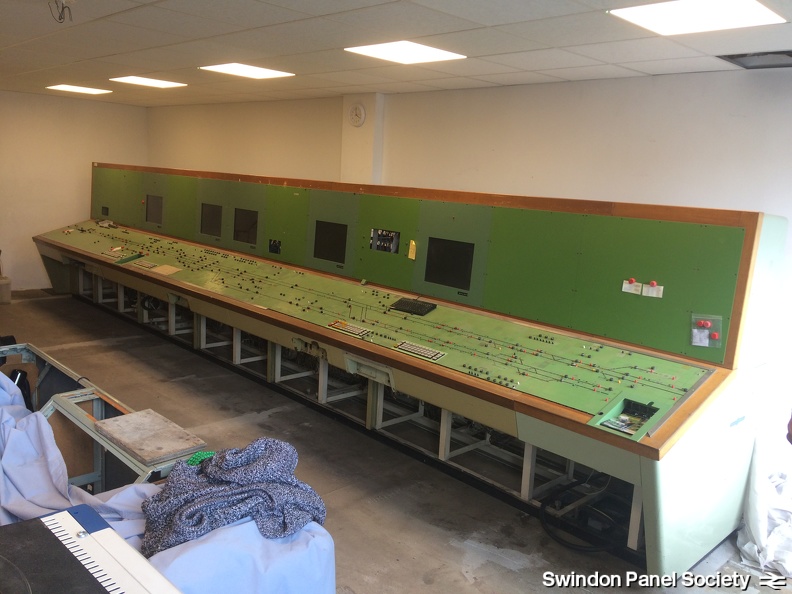 IMG 4771
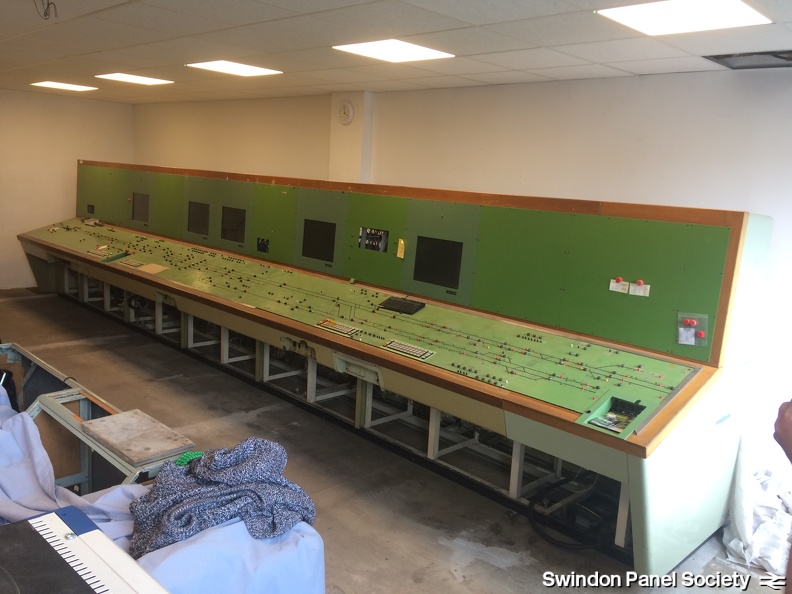 IMG 4770
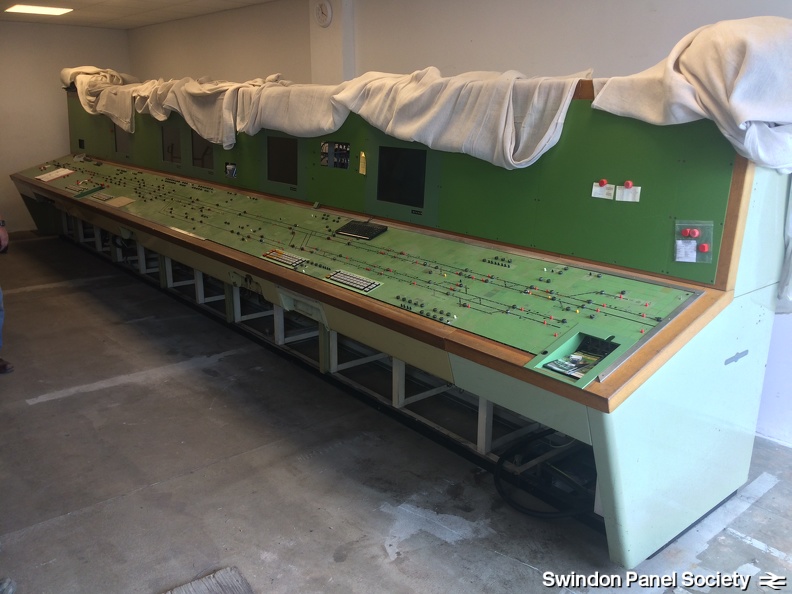 IMG 4769
 IMG 4768
 IMG 4767
 IMG 4766
 IMG 4765
 IMG 4762
 IMG 4761
 IMG 4760
 IMG 4759
 IMG 4758
 IMG 4757
 IMG 4756
 IMG 4755
 IMG 4754
 IMG 4753
 IMG 4752
 IMG 4751
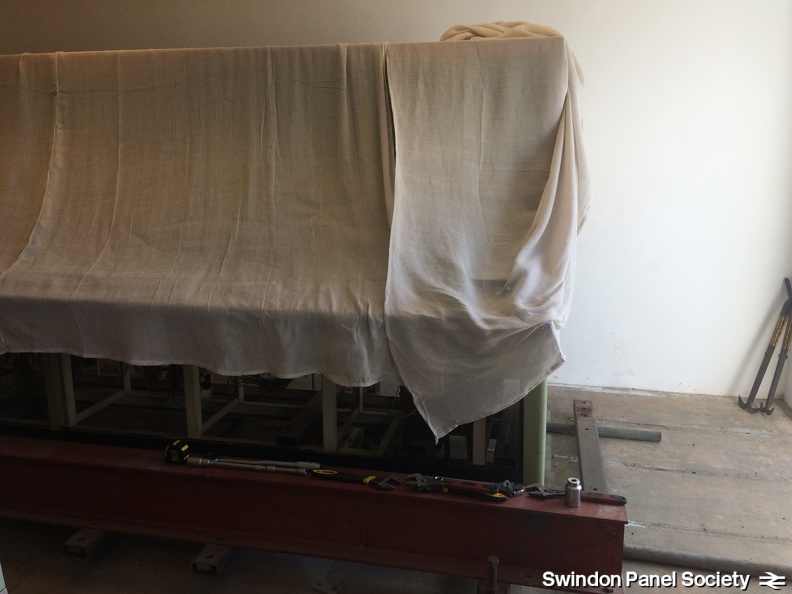 IMG 4750
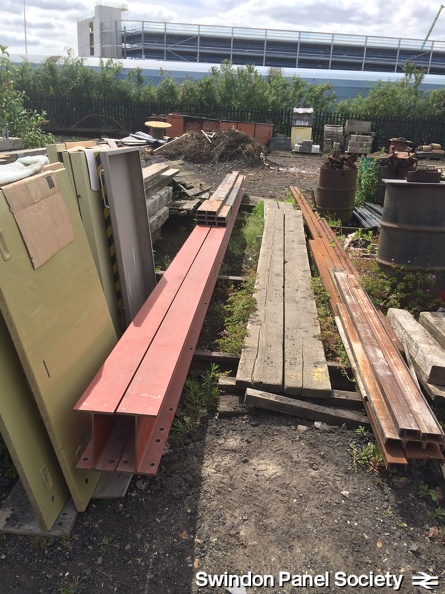
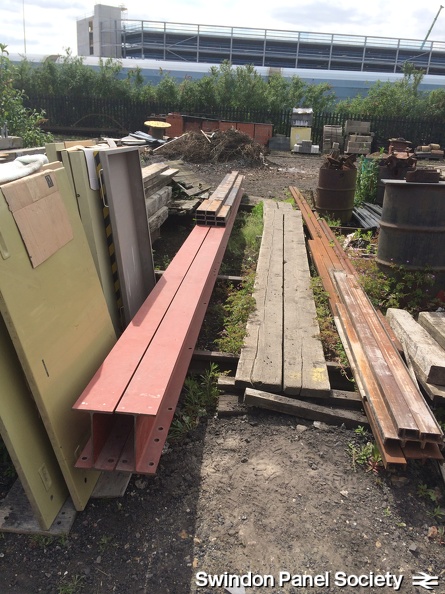
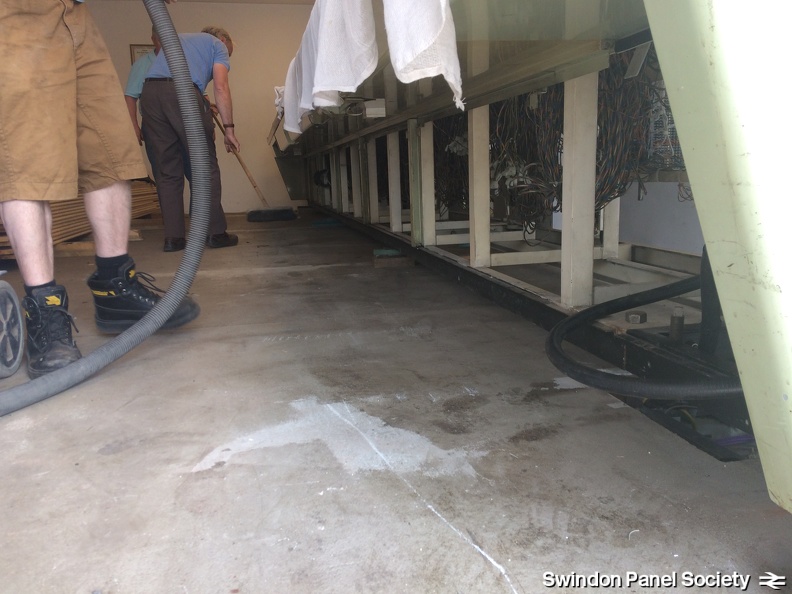
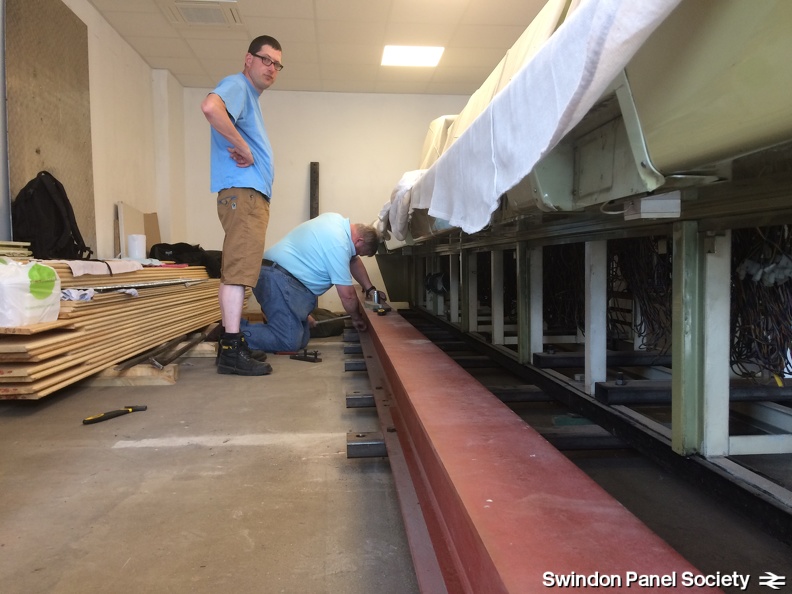
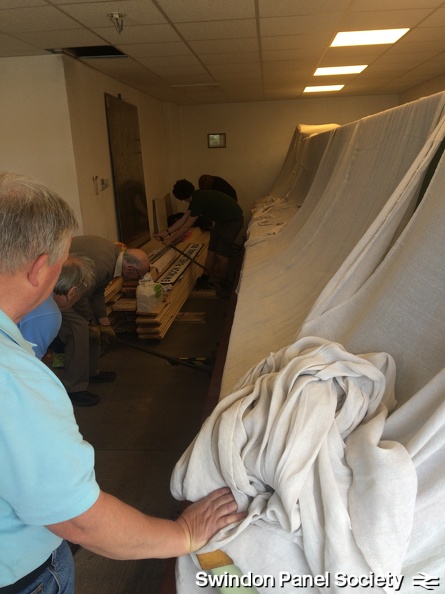
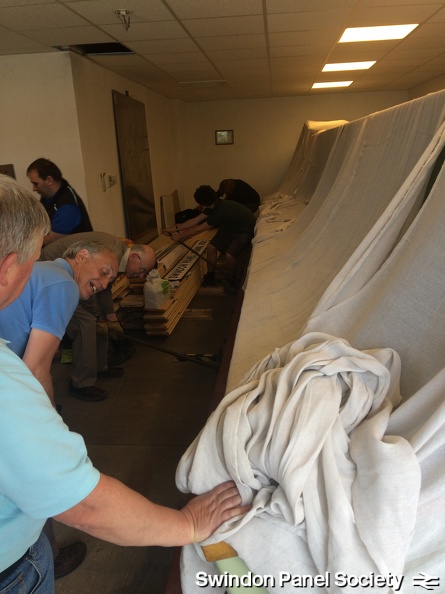
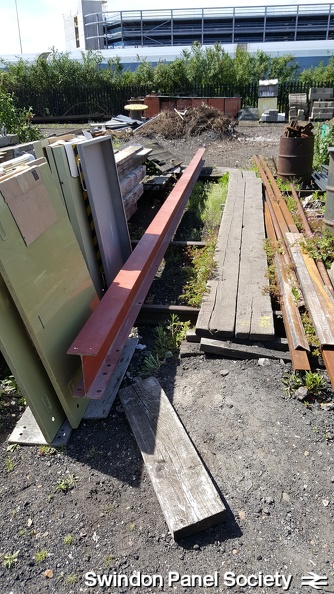 Before long, the front girder of the framework is dragged outside, ready for its next use.
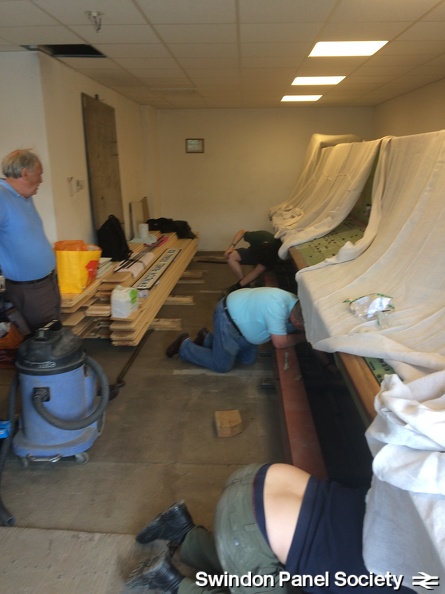
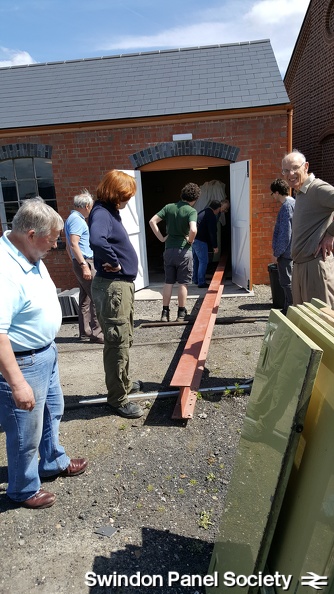 ...which is quickly achieved, thanks to the number of GWS and SPS volunteers in attendance. I wonder what's behind the panel that they're all captivated by?
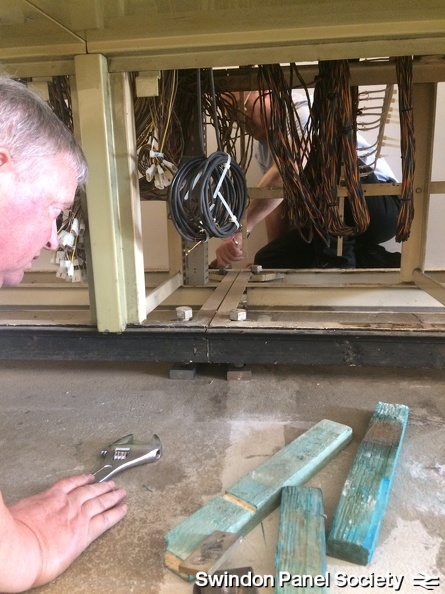
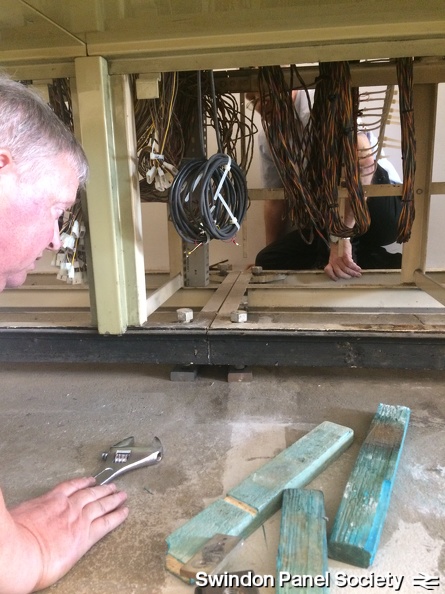
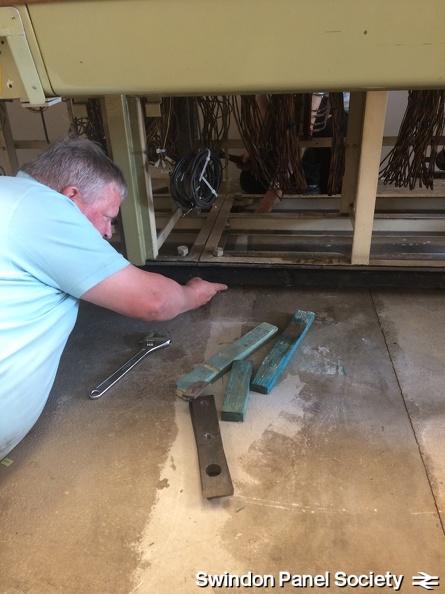
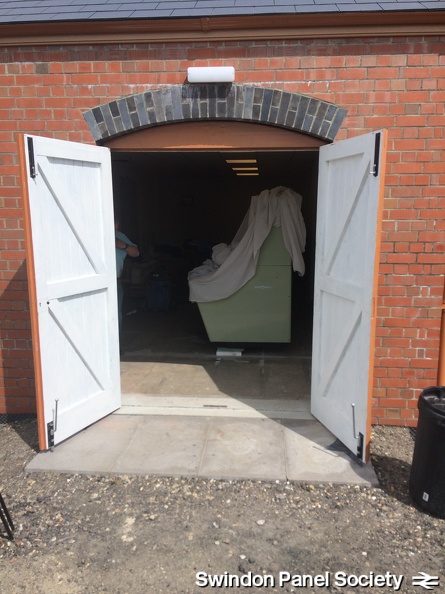
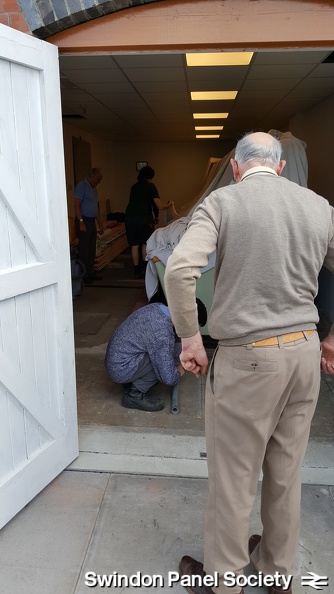 With rodding in position, the trickier task comes of removing the rear girder through the double doors at a tight angle...
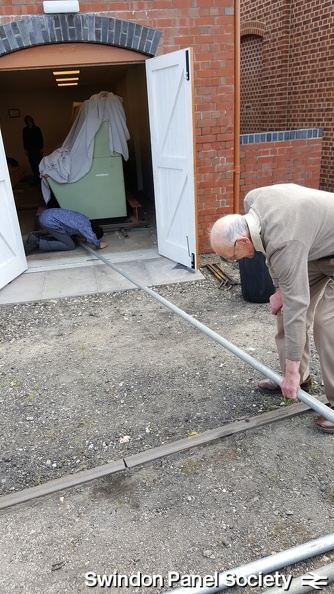 As part of the lowering process, some rodding is now fed under the front of the panel by John Hill.
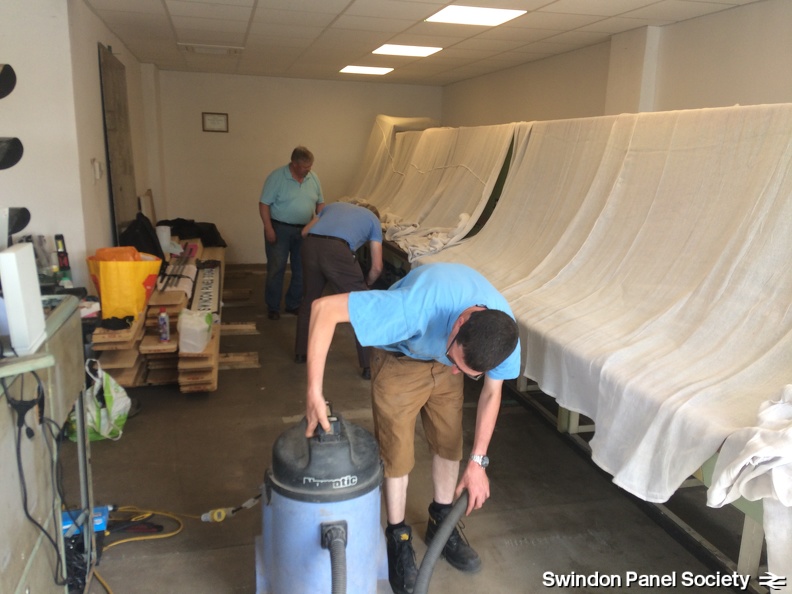
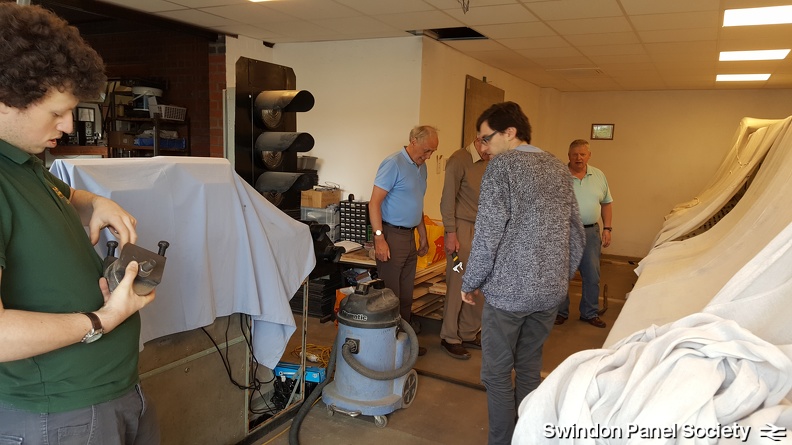 9th May: the day comes for moving the panel into its final postion - wheel the panel backwards, then remove the wheels, channelling and framework, and lower to the floor...sounds simple, doesn't it?
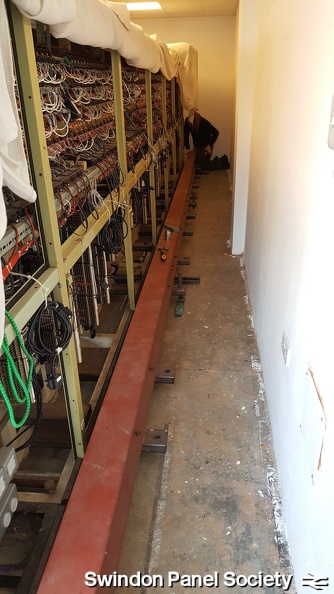 The panel is shown having been wheeled back towards the rear wall, ensuring we've enough space in the future for easy maintenance, tooling, etc.
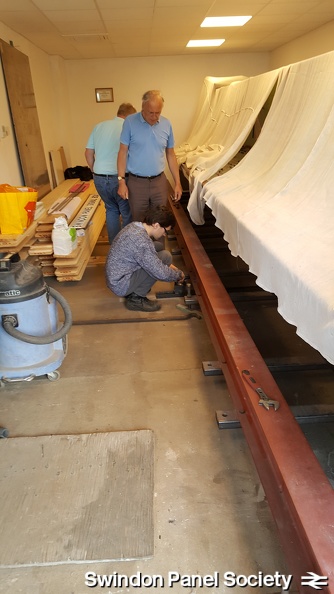 The wheels being removed, as the dismantling of the framework begins.
 IMG 4749
 IMG 4748
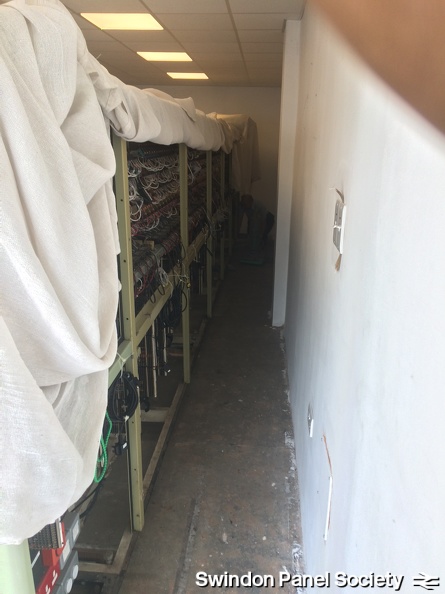
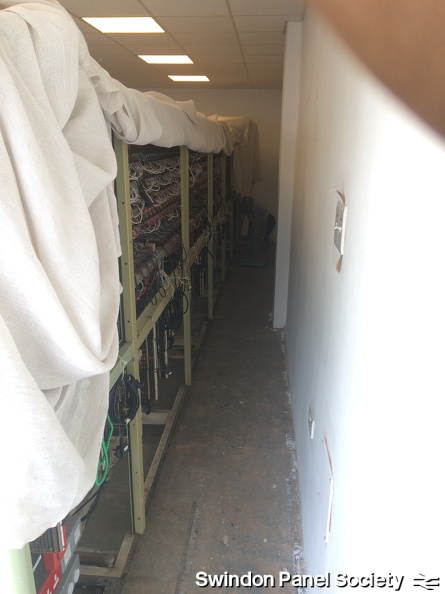
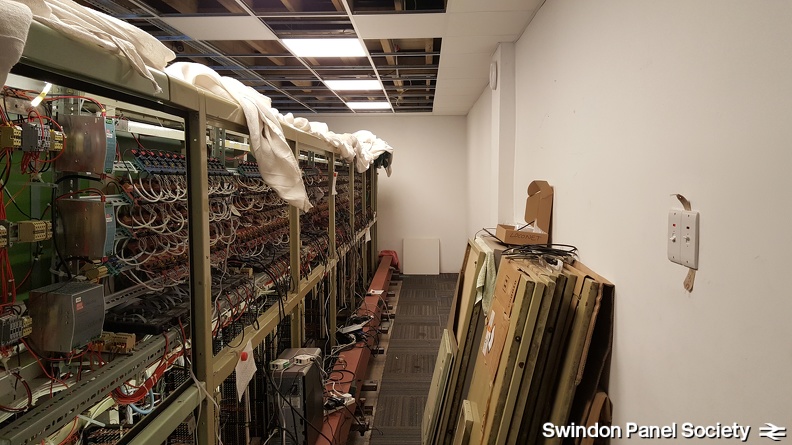 With more space cleared behind the panel, access to the racks becomes somewhat easier as more simulator works continue apace.
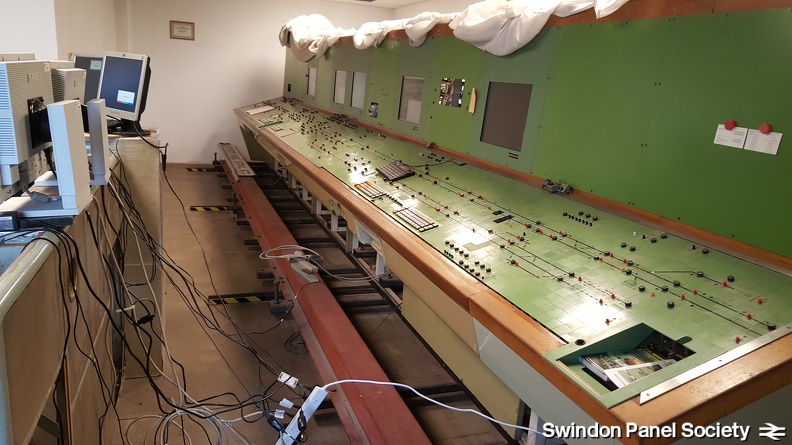 A view from the front this time; the cables running from the panel belie the works unfolding at the back desk...
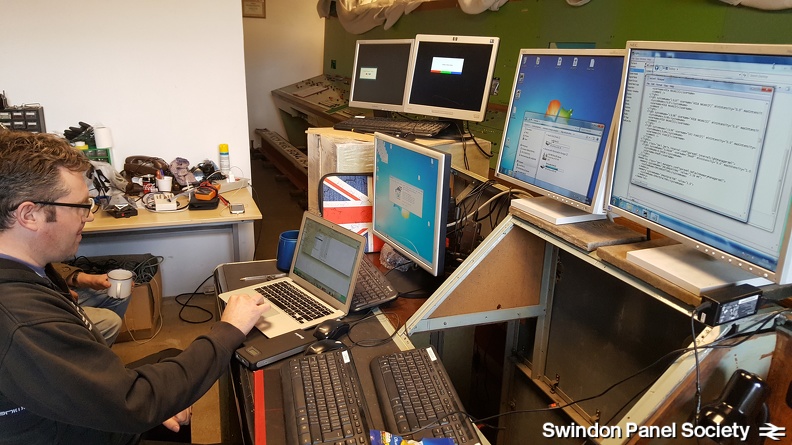 ...where Kevin Marsh toils with the technological side of the panel's operation, in readiness for anyone to 'have a go'. Enough screens there, Kev?!
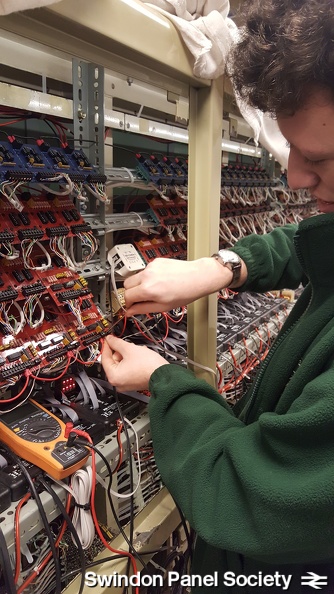 Meanwhile, Jamie Brooker installs and tests further inter-PCB wiring on the rear racks.
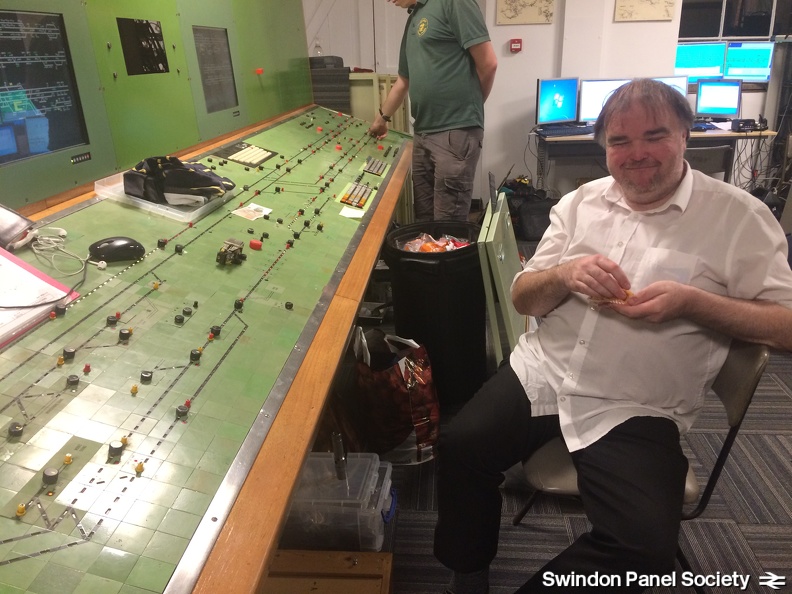
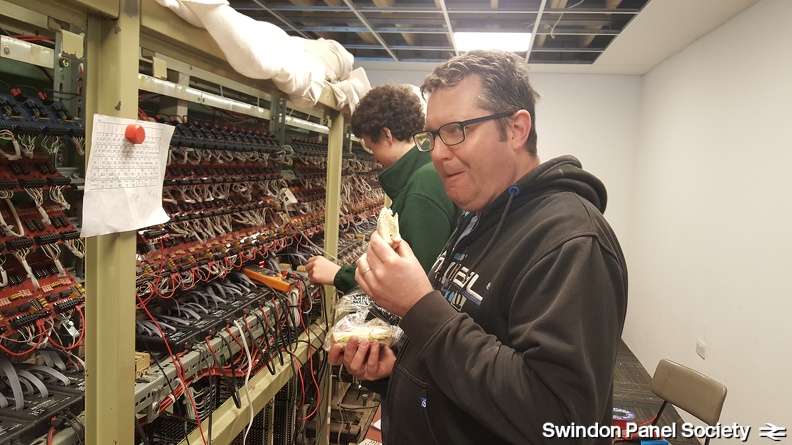 Kevin Marsh supervises the works, enjoying a well-deserved sandwich while he does so!
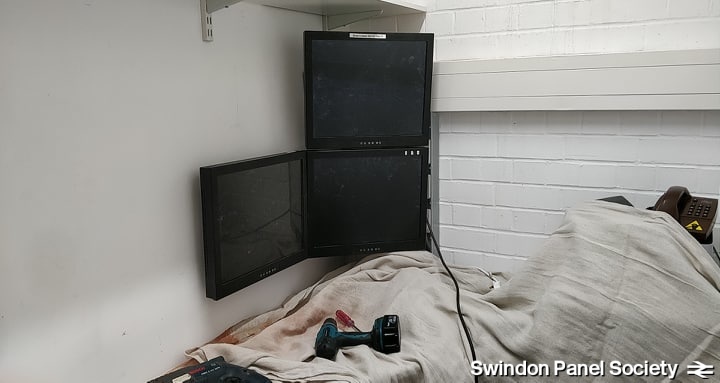
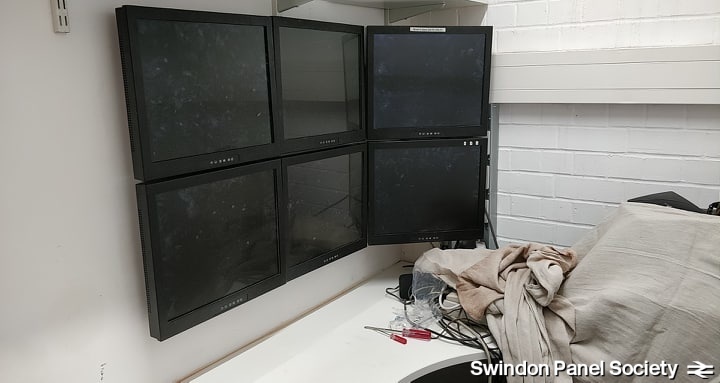
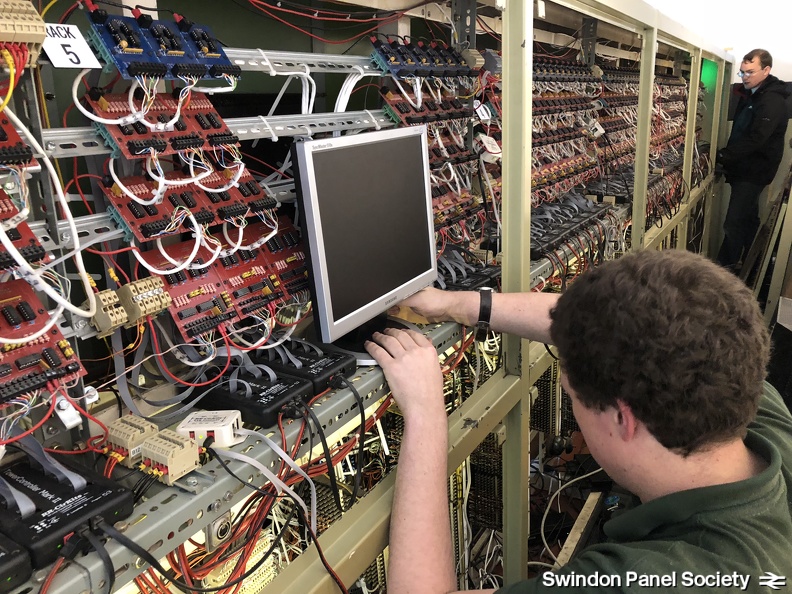
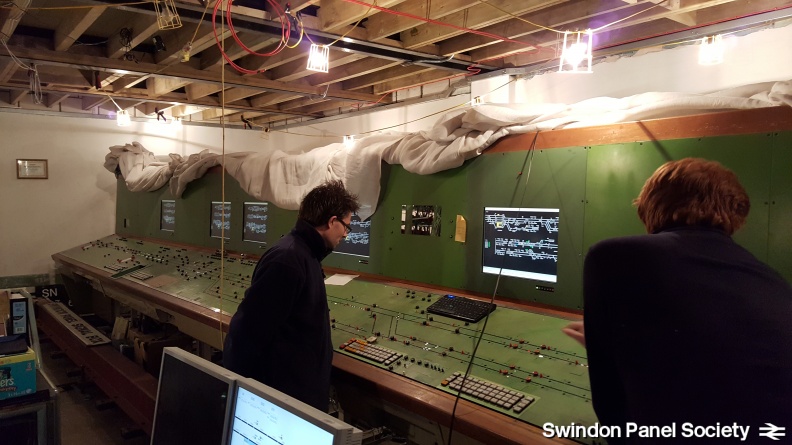 Success! This shot shows (just about!) all five VDUs working - another great step forward.
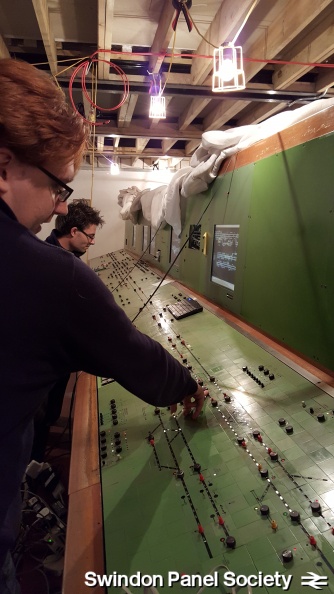 More testing is done, seen here being carried out by James Nelhams and Tom Lane.
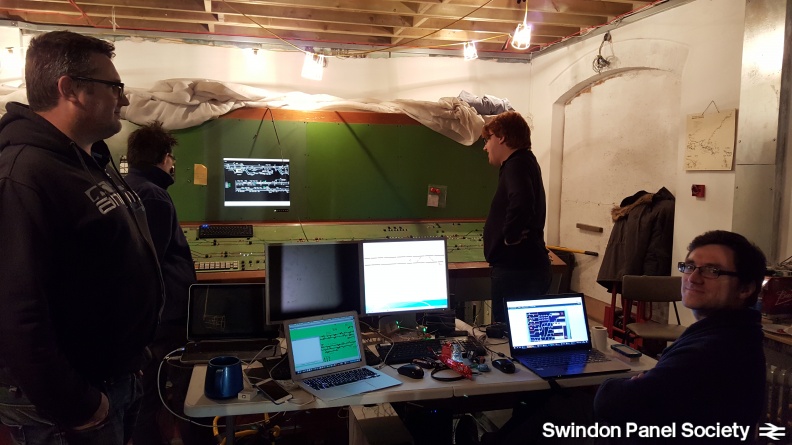 After the all-too-brief respite of Christmas over, the team reassemble to reactivate more VDUs.
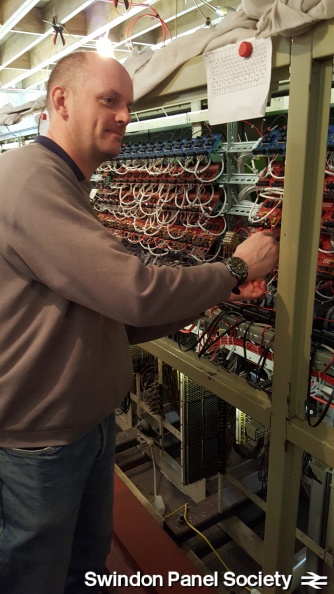 Paul adds in new power jumper cables between the circuit boards, having crimped the ends
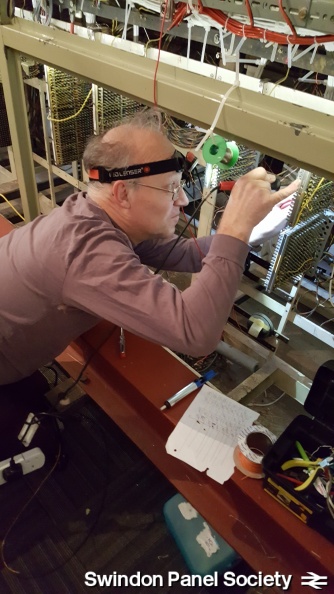 Meanwhile, Peter continues the seemingly-unending task of soldering the 8-core cables to the tag blocks...yet the final tag block is coming into view!
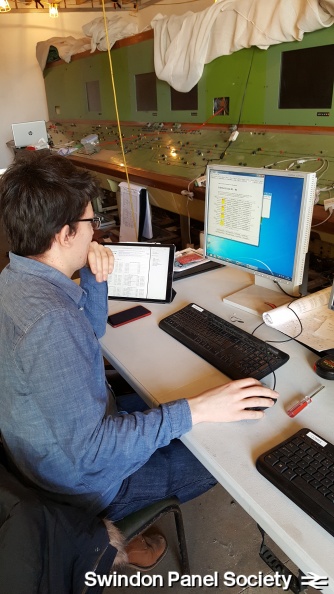 To prove it's not all soldering, cleaning, etc., Tom Lane diligently programmes each TC64 unit (communication unit between each circuit board & the simulator)
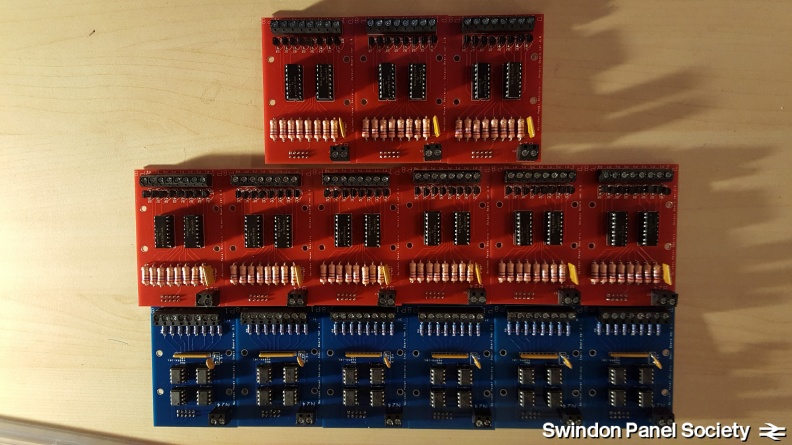 ...and are quickly put to good use, with several more input & output boards assembled, cleaned & tested
 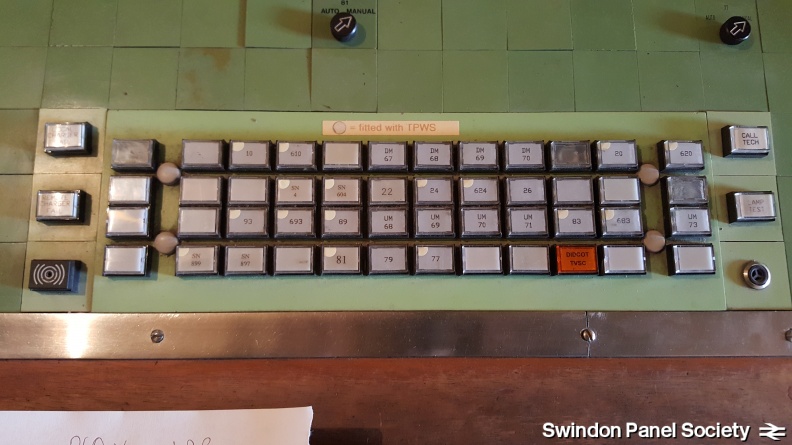 More parts arrive, allowing the telephone concentrator keyboards to have complete button sets again - can you spot the new ones?
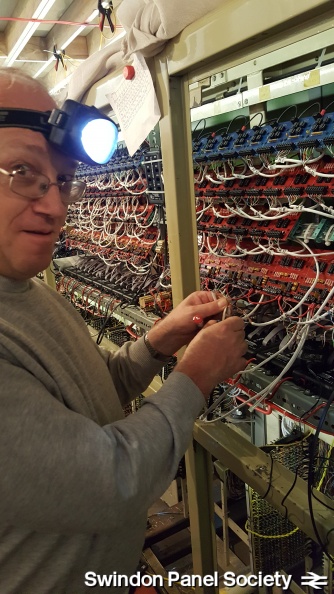 Meanwhile, Peter continues to terminate the cables at the PCB end, in readiness for more testing
 Testing reaches Uffington loop...worthy of such a cake-based celebration! The look westwards shows just how far we've come
 With more PCBs made, a quick view shows that we're 50% of the way to filling the final two racks
 More tag block soldering is called for; Jamie does the honours while Tom helps test around the front
 ...and swiftly moves further eastwards, with suitably-enscribed magnet to chart progress!
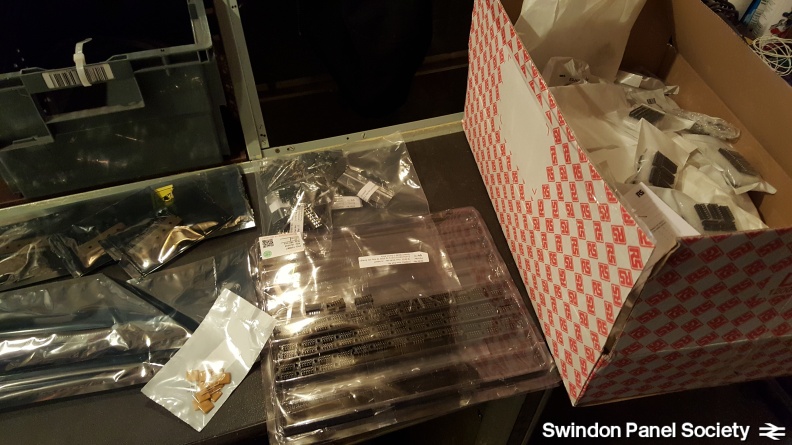 Contrary to popular belief, yes, we're still making PCBs! Reinforcements of components arrive...
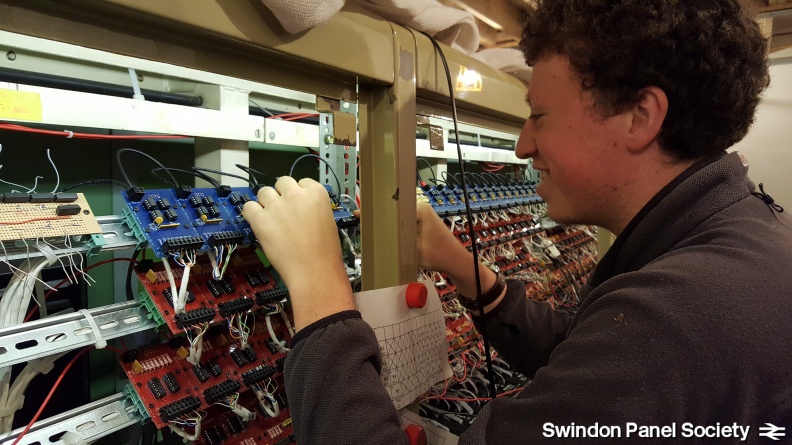 Jamie turns his hand to fault-finding, including crimping & reconnecting power jumper leads
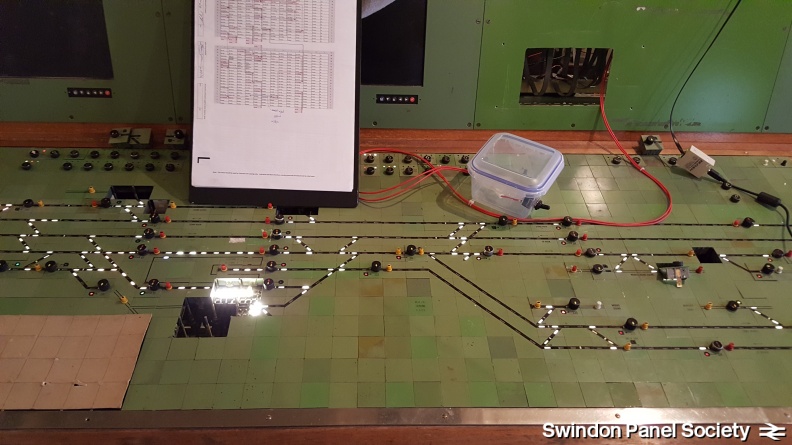 Testing continues at the front of the panel, with many illuminated lamps in evidence...
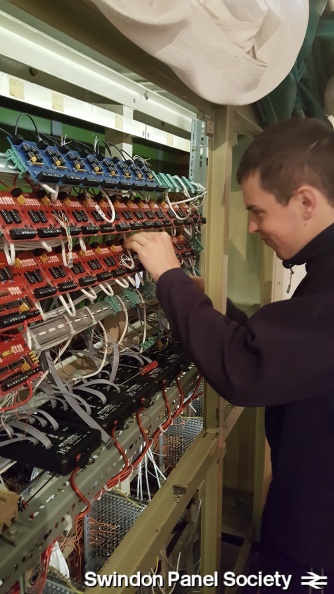 ...whilst Jack continues wiring in PCBs that have had their cables soldered to the tag blocks & tested
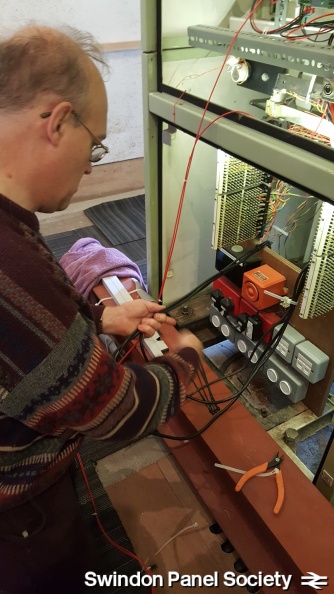 Peter gets to grips with tidying the various power distribution cables...
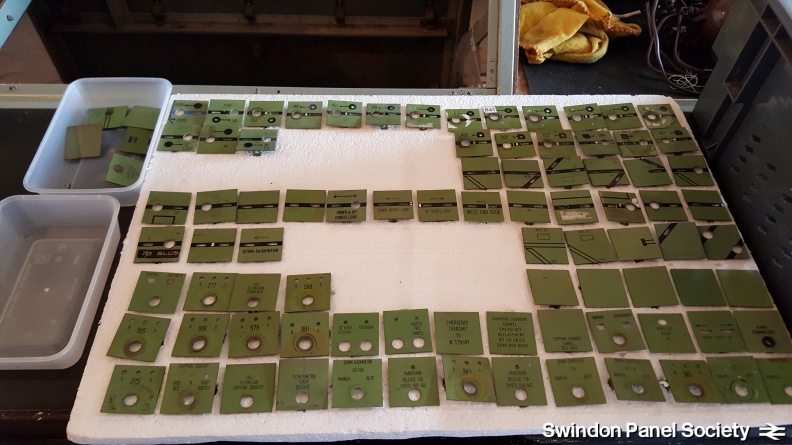 Tiles now carefully sorted & stored on polystyrene sheets for potential future use.
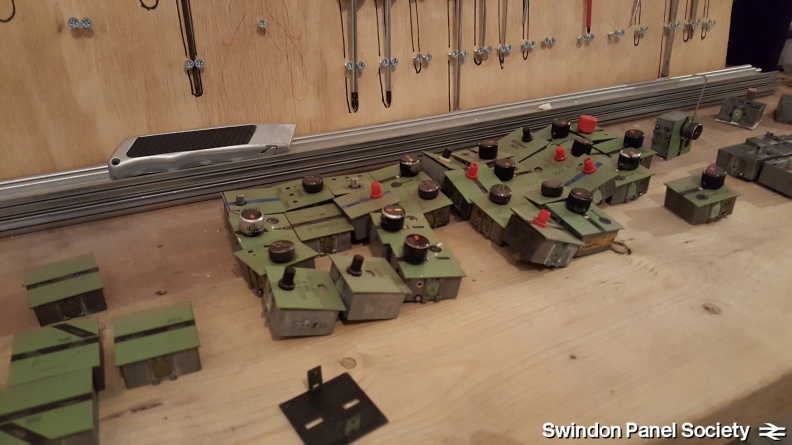 Another working day: John begins by stripping down our spare dominos stock into their respective pieces.
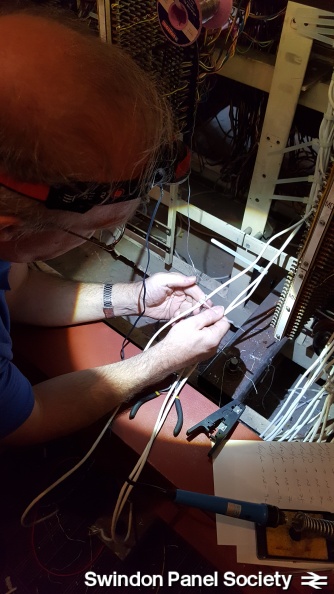 Meanwhile, Peter continues the terminating & soldering of 8-core cables at the tag blocks...plenty of practice still available for those that want it!
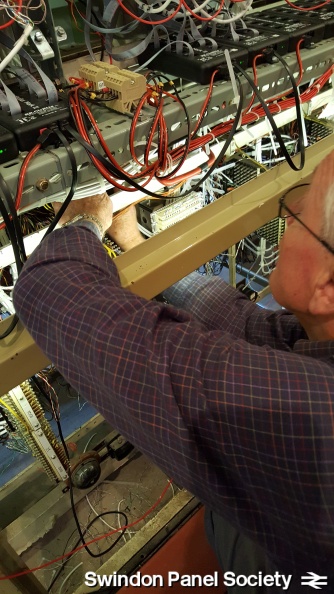 David, with cutters to the fore, trims back cable ties from tidied cable runs & works on the labelling system.
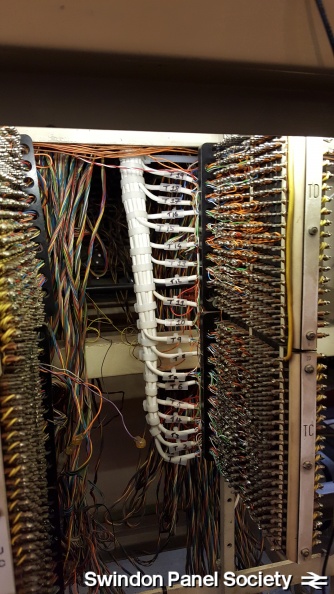 The finished article: an easy to identify, very neat end result - a great improvement!
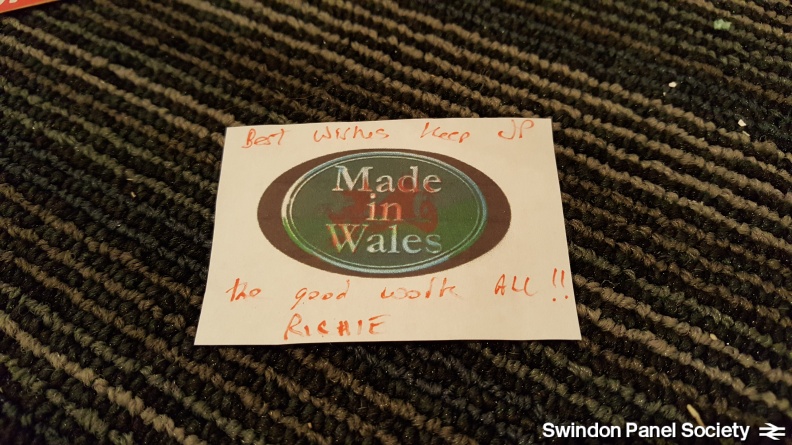 ...whilst other completed PCBs proudly state their country of origin!
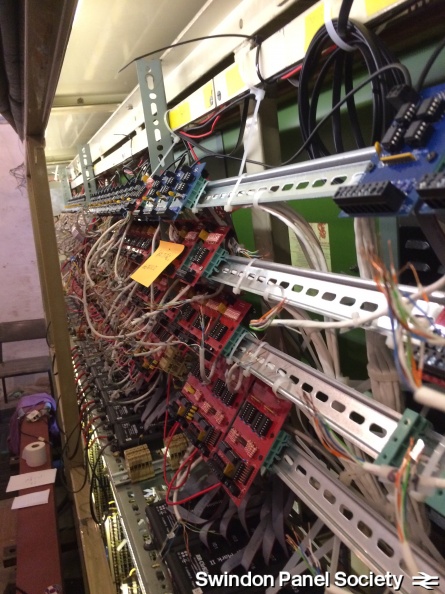 image4
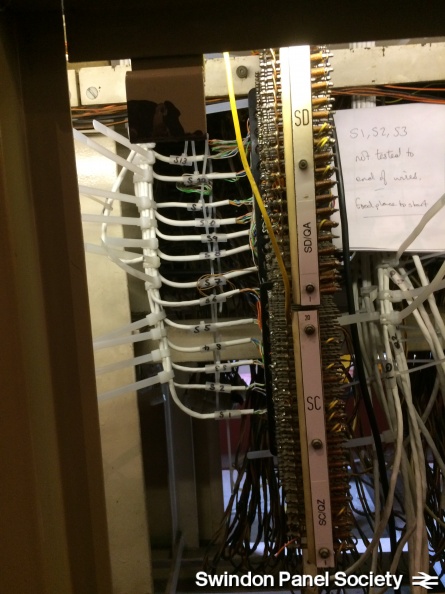 image2
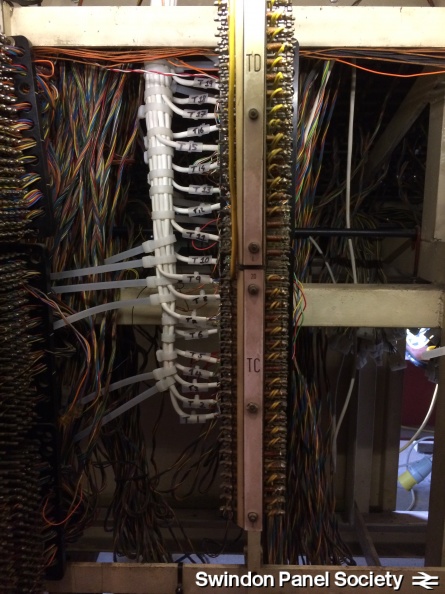 image1
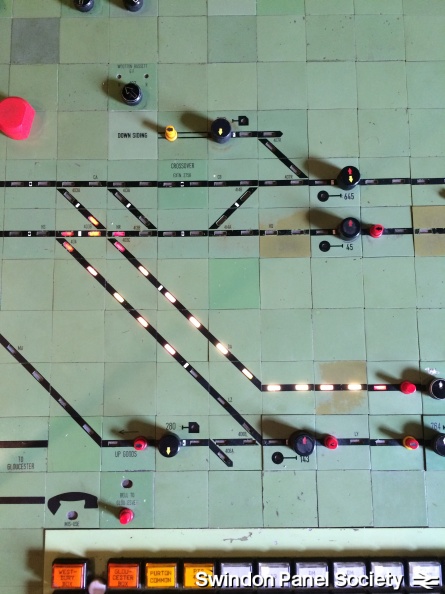 image3
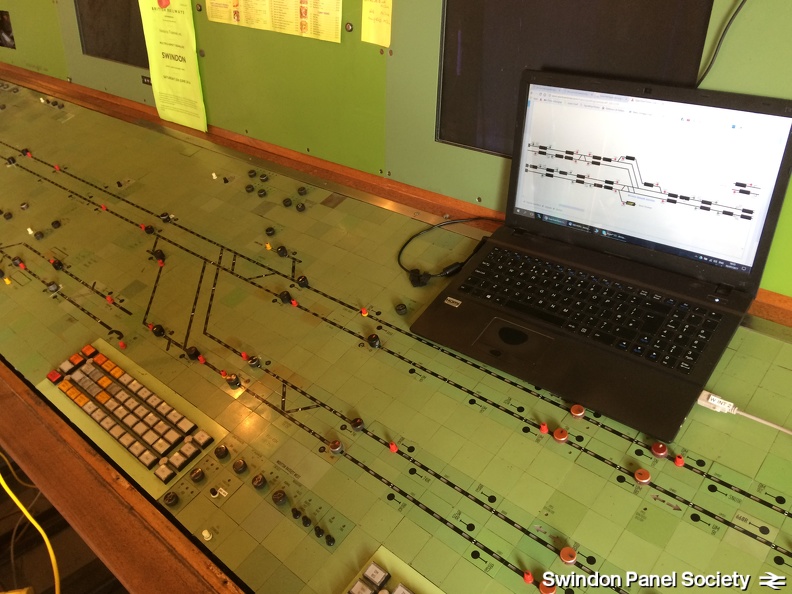 IMG 2887
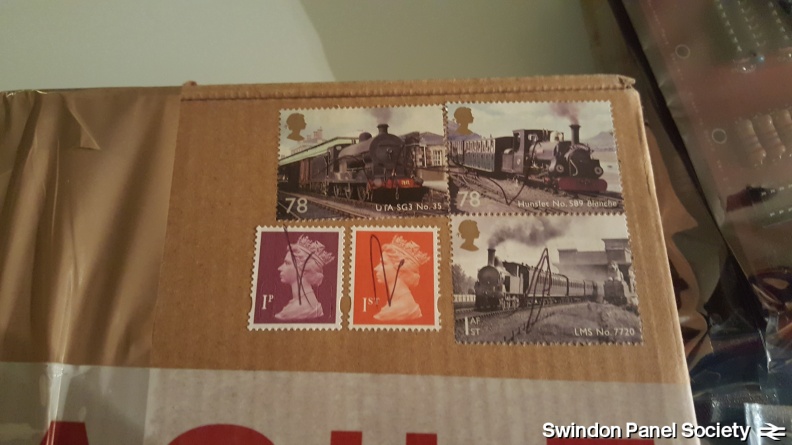 PCBs continue to be received & tested before being installed in the panel - certainly a railway theme accompanying the parcel here...
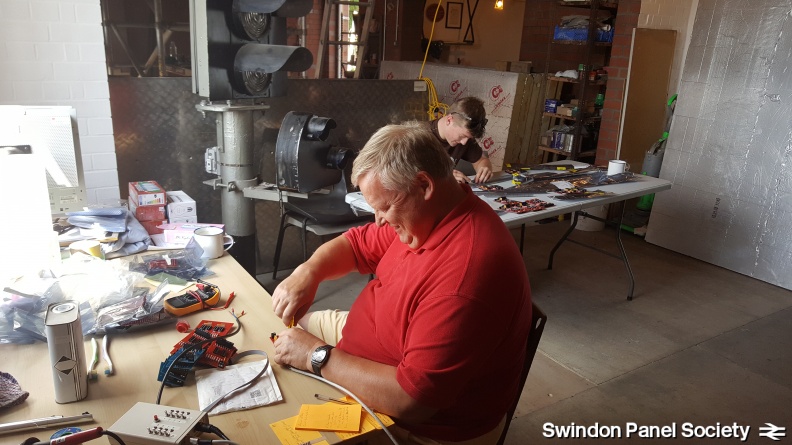 ...whilst to the front of the panel, SPS members make great progress with inserting the microchips into the PCBs & testing the finished product.
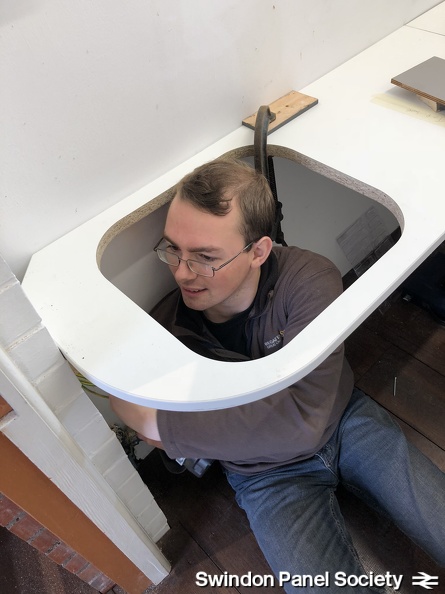
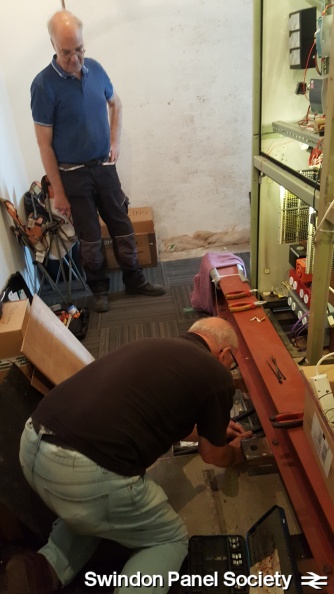 Behind the panel, the all-important earthing wire is installed...
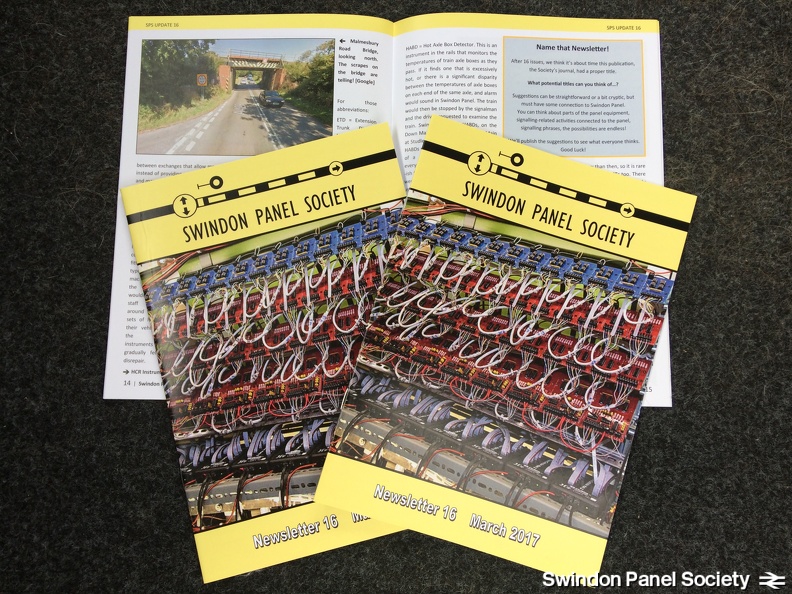 IMG 2690
 IMG 2678
 IMG 2677
 IMG 2661
 IMG 2660
 IMG 2659
 IMG 2360
 20170304 145417
 IMG 2338